The Rosie Home Edit contains affiliate links. If you make a purchase through these links, we may receive a commission. Thank you for supporting the work we do to curate this space.
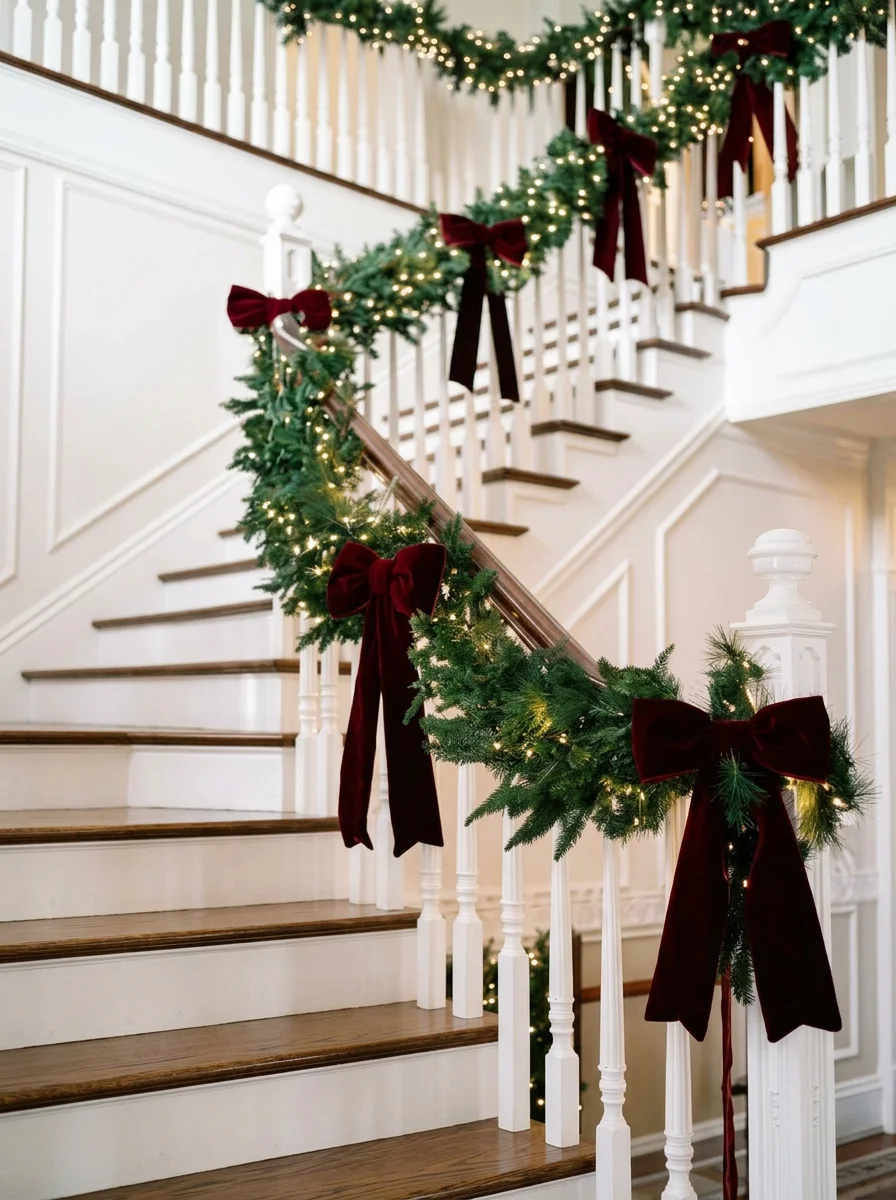
Few architectural features in a home offer the sweeping drama and visual impact of a staircase. Located right at the entryway, the staircase acts as the spine of your home. It connects your main living spaces, draws the eye upward, and serves as the immediate backdrop for every guest who crosses your threshold during the holiday season. Decorating your staircase banister transforms an everyday passageway into a breathtaking, cozy winter sanctuary.
However, moving from a sparse, artificial green strand slapped onto a handrail to a lush, magazine-worthy banister display requires deliberate technique. Achieving that full, cascading look seen in high-end design showcases relies on texture, scale, and strategic layering. By combining the durability of realistic faux greenery with the aromatic magic of fresh pine sprigs, trailing velvet ribbons, and heavy vintage brass bells, you can craft a showstopping holiday feature that feels both grand and comfortable.
Whether your home features a sweeping curved staircase, a classic craftsman entryway, or a sleek modern banister, this comprehensive guide provides the exact professional steps needed to design an elevated, long-lasting holiday banister.
The Art of the Banister Transformation
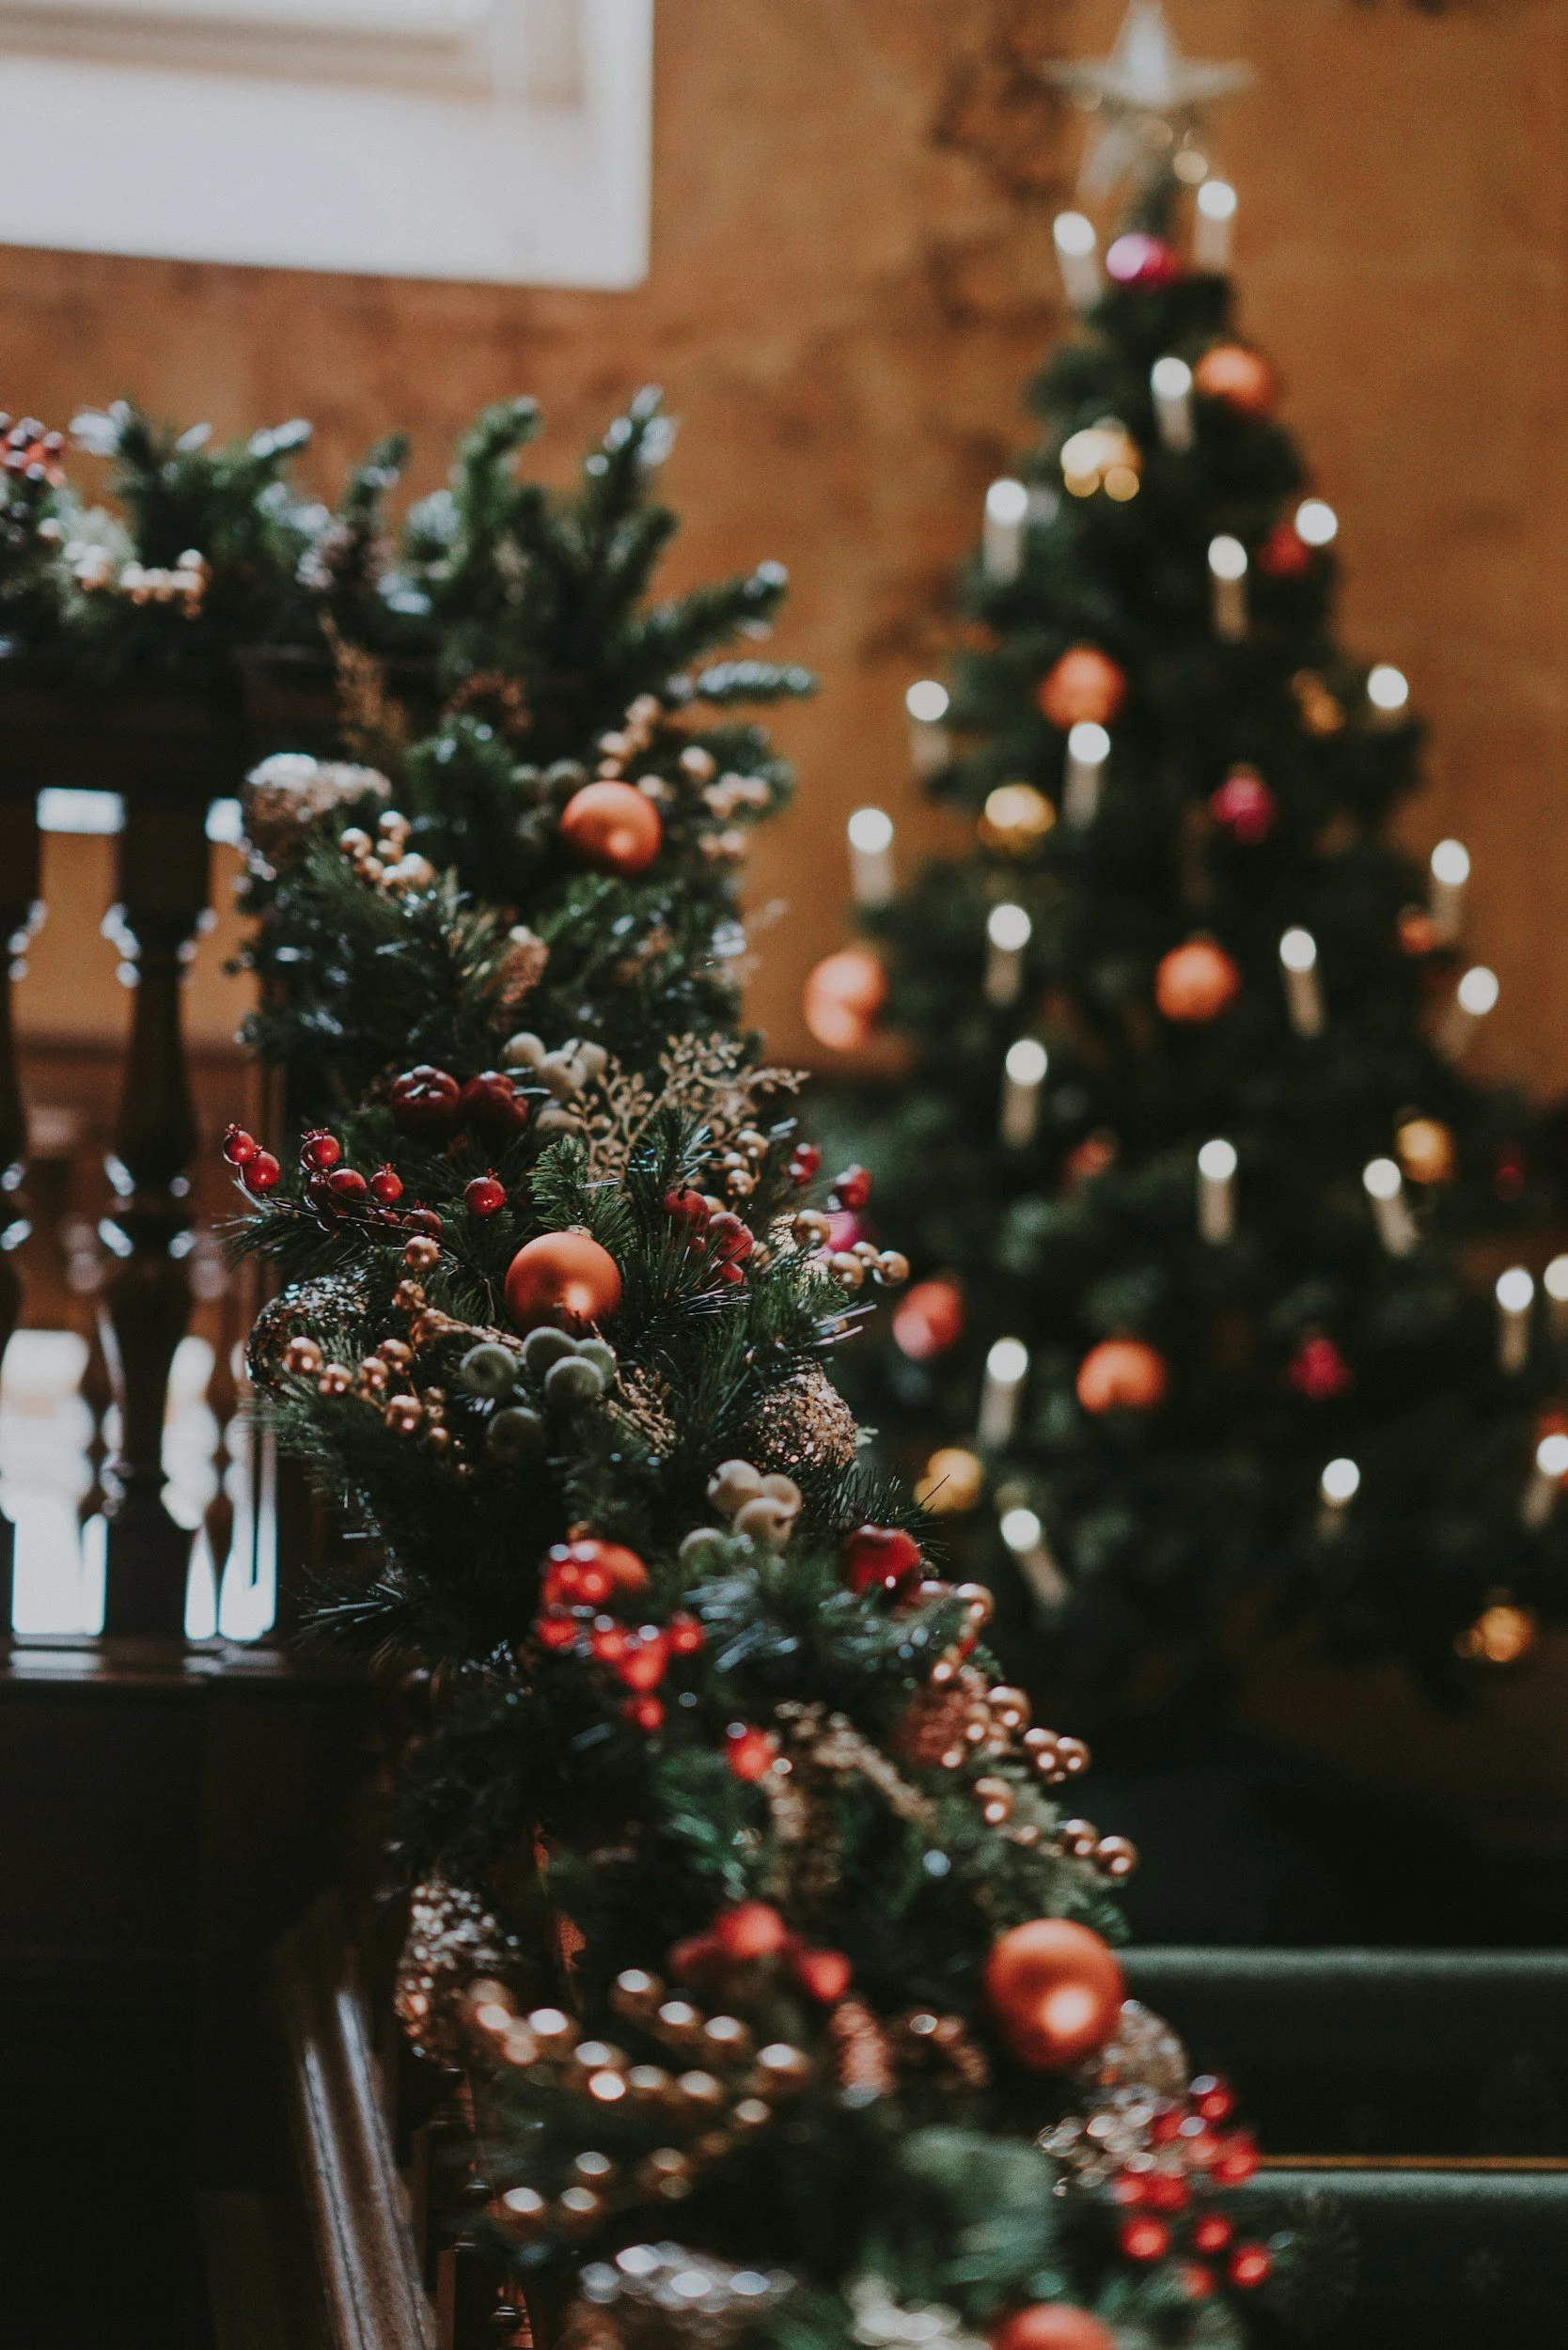
When late fall transitions into early winter, designing a festive home becomes a balance between preserving cozy warmth and creating visual celebration. While the Christmas tree often takes center stage in the living room, the staircase banister holds a unique status. It is viewed from multiple angles—from the front door, from the hallway above, and up close every time someone walks up or down the steps.
In professional interior design, styling a staircase banister is treated as an architectural sculpture. The goal is to highlight the natural lines of your woodwork or metal banister while softening hard edges with living textures, rich fabrics, and glowing metallic accents.
Before picking up a single strand of greenery, you must decide on your overarching design direction. Are you aiming for a tailored, dramatic swoop, or do you prefer a straight, dense run along the handrail? Understanding these foundational choices helps you select the proper materials and calculate the exact length of garland your space demands.
SHOP THE EDIT


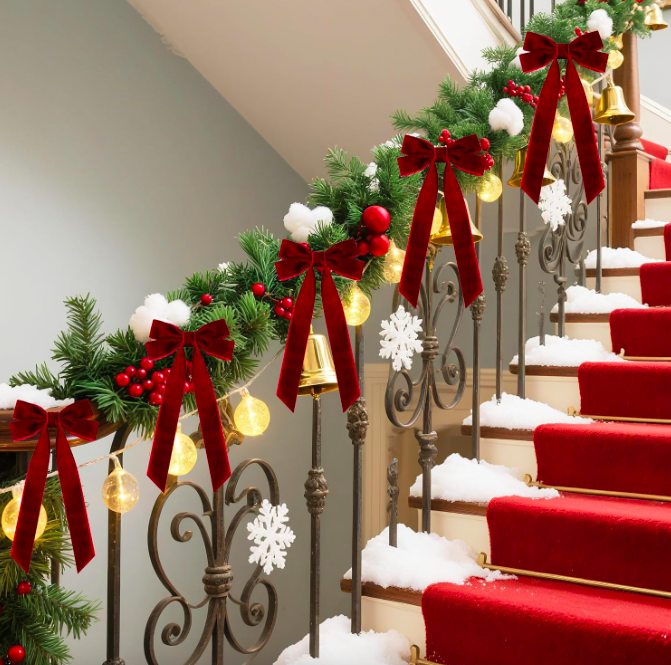
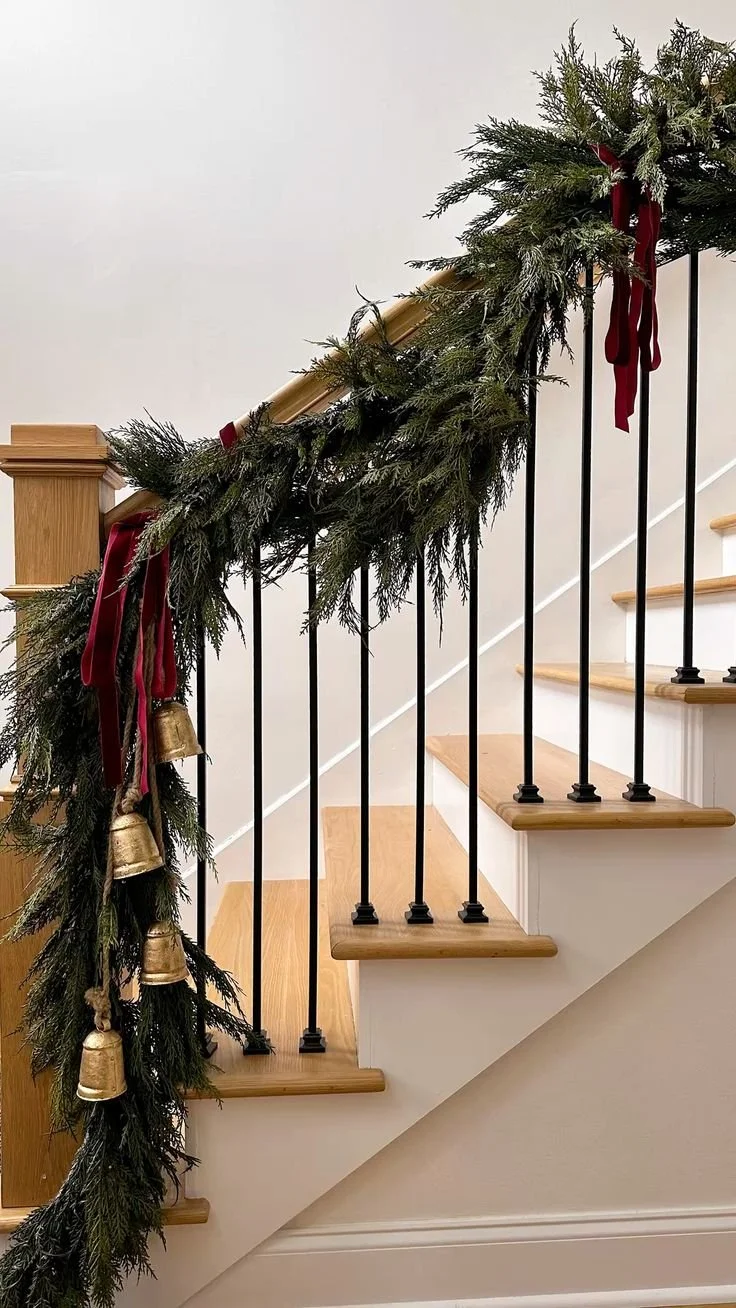
Step 1: Calculating Garland Length and Choosing Your Draping Style
One of the most common mistakes homeowners make is buying garland based solely on the straight measurement of their handrail. A straight eight-foot banister requires significantly more than eight feet of garland if you plan to create elegant swoops, wraps, or cascading tails at the top and bottom newel posts.
How do you accurately calculate how much garland you need?
The Tailored Straight Run: If you plan to lay your garland directly along the top of the handrail or wrap it tightly around the spindles without dipping, multiply your banister length by one and a half. An eight-foot banister requires twelve feet of garland.
The Dramatic Deep Swoop: If you want your garland to drop in graceful, curved arcs between the spindles before rising back up to attach at key points, multiply your total banister length by two. An eight-foot banister requires sixteen feet of garland.
The Floor-Cascading Finish: Always add an extra three to four feet of garland for the bottom newel post. Allowing the greenery to pool softly onto the floor at the base of the stairs creates an anchored, high-end look.
What are the two main attachment styles?

The Top-Rail Flat Lay
In this approach, the main body of the garland rests directly on top of the wooden handrail or along the outer edge. This allows you to drape the greenery down toward the spindles while leaving the inner side of the handrail partially clear for hands to slide safely. This is the ideal method for busy family homes with young children or elderly guests who rely heavily on handrail support.
The Spindle-Attached Swag
This classic method attaches the garland below the handrail, securing it directly to the vertical spindles. The greenery drops into soft, romantic swags between attachment points. This keeps the actual wooden handrail completely clear for safety while creating dramatic architectural shadow lines along the staircase wall.
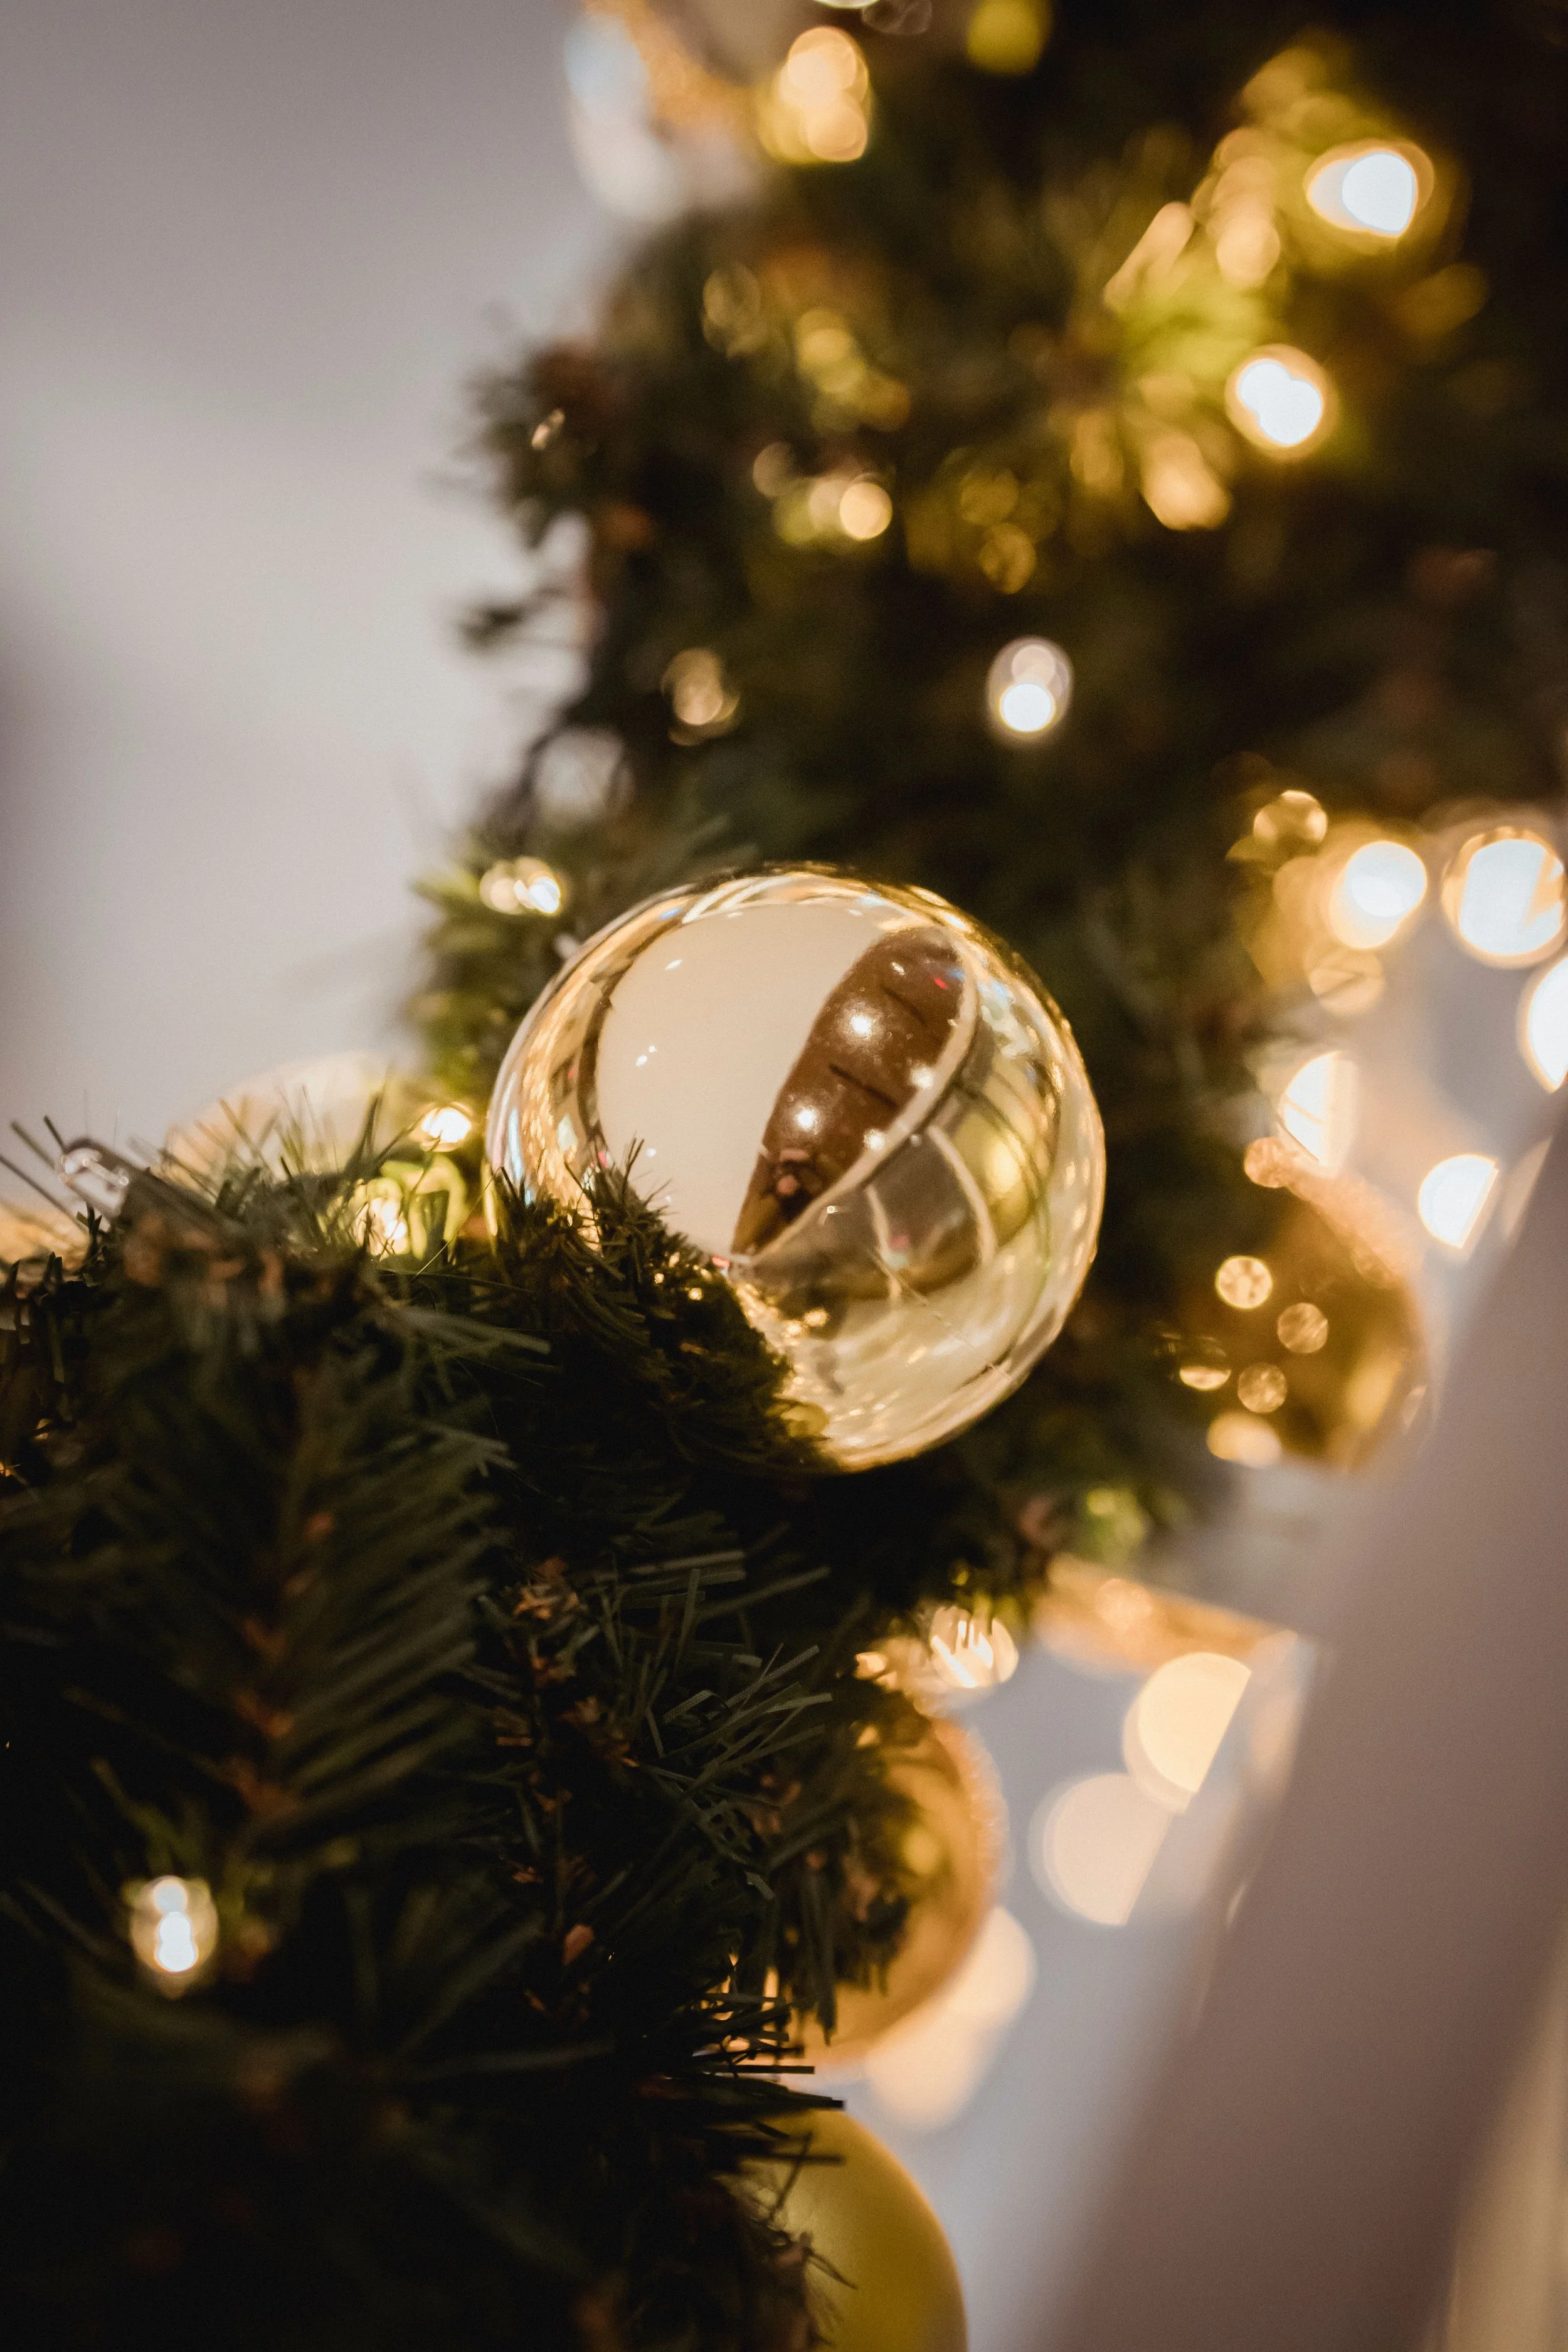
Step 2: The Hybrid Method—Combining Real vs. Faux Evergreen Garlands
Should you use artificial or live evergreen garlands for your staircase? The professional secret used by top interior stylists is simple: use both.
Using 100% real evergreen garland on an indoor banister often leads to early disappointment. Heated indoor winter air dries out fresh cut fir and cedar rapidly. Within two weeks, needles drop onto the steps below, creating a constant cleaning chore and leaving your banister looking sparse before Christmas Day even arrives. On the other hand, using 100% artificial garland can sometimes look flat, uniform, and lacking in real-world charm.
By employing the Hybrid Layering Method, you get the structural volume, shape retention, and longevity of a high-end faux base, combined with the scent, varied green hues, and organic movement of live clippings.
How do you layer real and faux garlands for maximum impact?
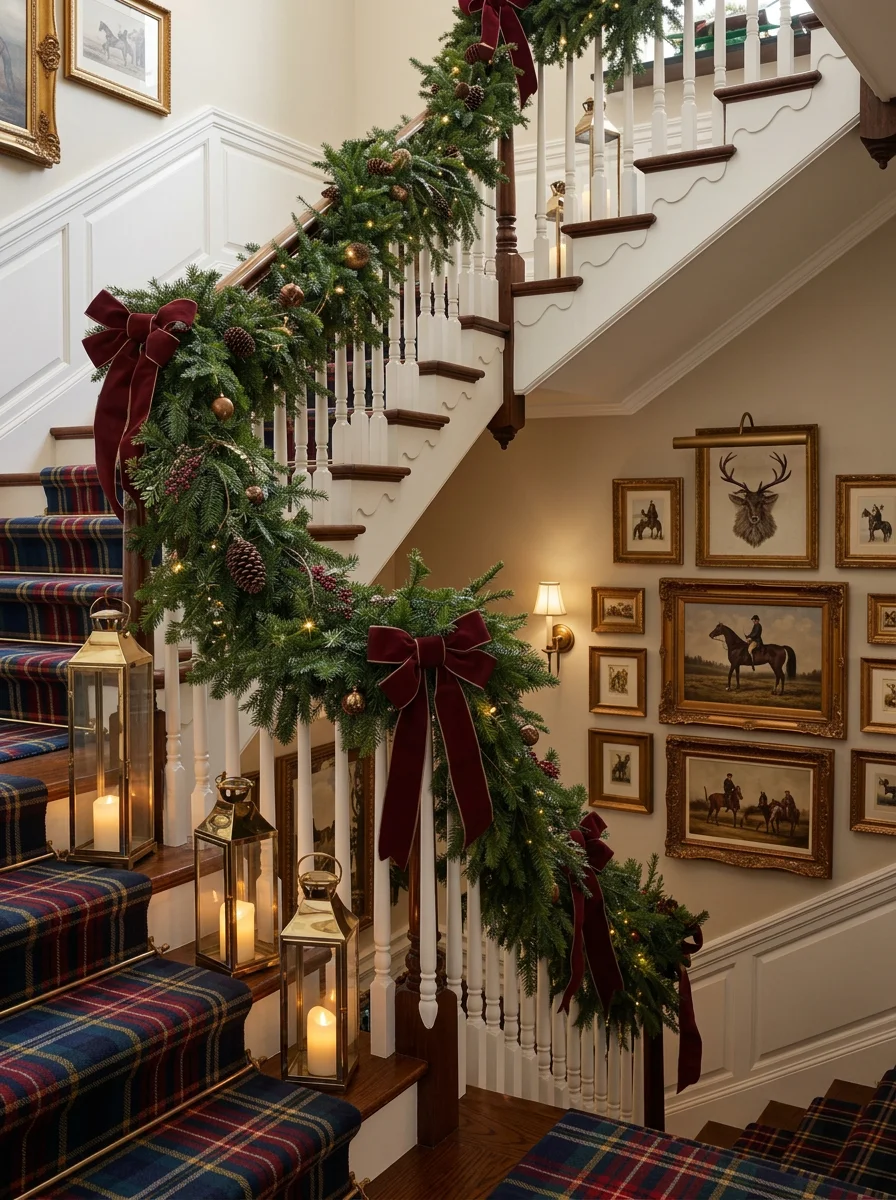
The Base Layer: Heavy Faux Evergreen Garland
Begin with a high-quality artificial garland as your foundation. Look for garlands made with molded PE (polyethylene) needle tips rather than cheap, flat PVC plastic. Norfolk pine, cypress, fraser fir, and longleaf pine faux garlands offer incredible realism and flexibility.
Attach your artificial garland securely to the banister first. Because artificial garlands feature wire cores, you can bend, twist, and fluff the branches in every direction. Fluff half of the branches inward toward the wall and the other half outward toward the hallway to create a dense, three-dimensional green channel.
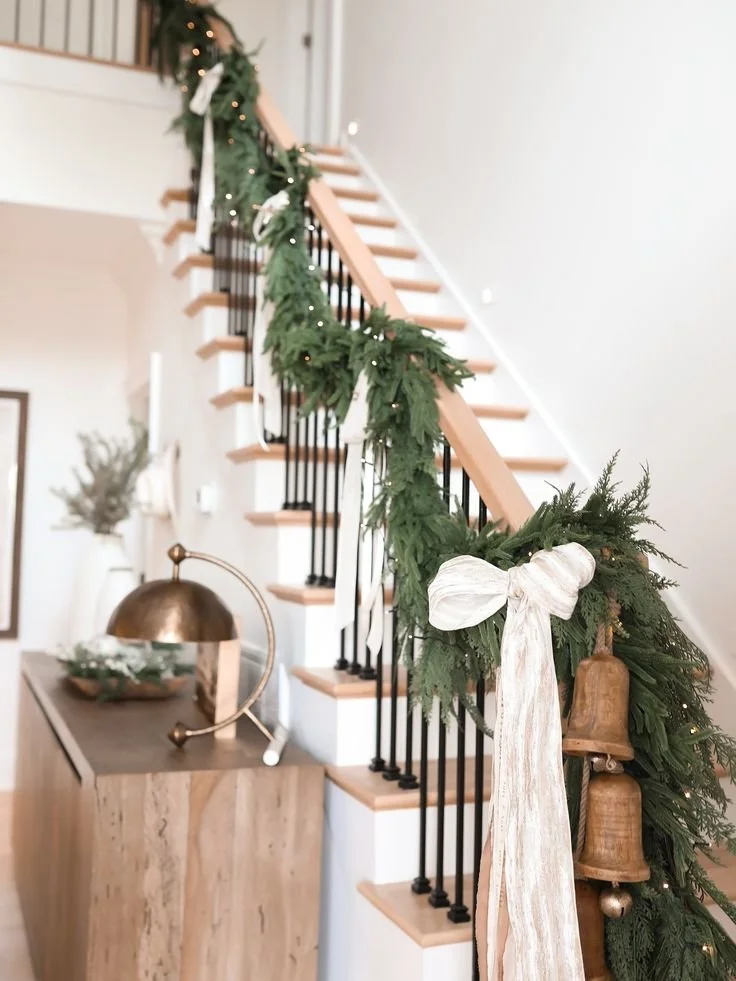
The Accent Layer: Fresh Cut Greenery Sprigs
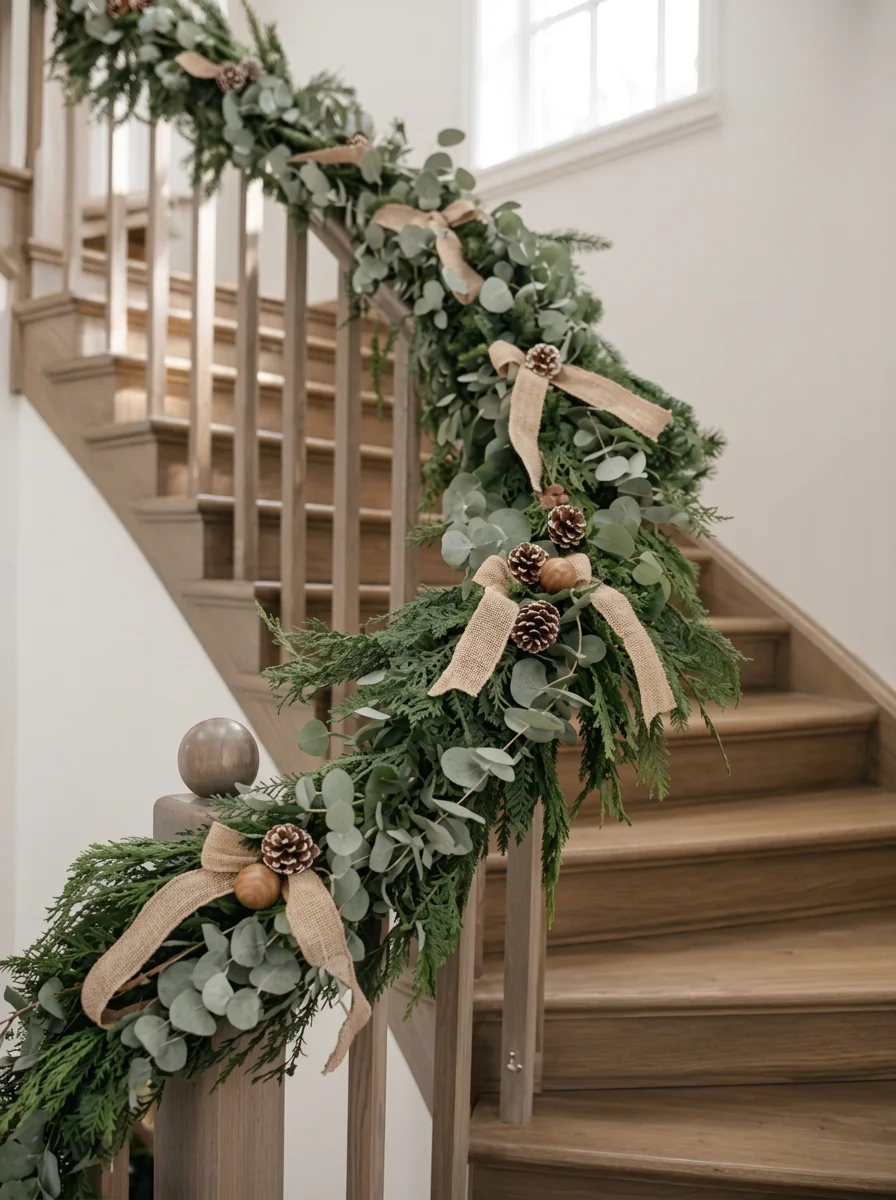
Once your faux base is securely anchored and fluffed, it is time to weave in real plant material. Rather than buying a heavy, expensive strand of live garland, buy fresh branches of blue spruce, fraser fir, incense cedar, and silver dollar eucalyptus from your local nursery or flower market.
Cut the fresh branches into individual six-to-twelve-inch sprigs. Slide the stems of these live clippings directly into the wired center of your artificial garland, securing them with floral wire if needed.
Focus on mixing needle types to build visual depth:
Incense Cedar: Adds cascading, feathery movement and a rich, spicy scent.
Blue Spruce: Introduces a cool, frosted silver-blue tone that contrasts beautifully with dark green pine.
Seeded Eucalyptus or Bay Leaf: Offers broad-leaf foliage that breaks up fine needle textures and brings a modern organic touch.
Noble Fir: Provides stiff, upright branches that hold heavy ornaments or bells without sagging.
Because these fresh sprigs are tucked into a dense faux framework, they draw moisture from the surrounding faux needles and stay looking fresh much longer. If a few sprigs dry out after a few weeks, you can easily pull them out and slide fresh ones in without dismantling your entire staircase layout.
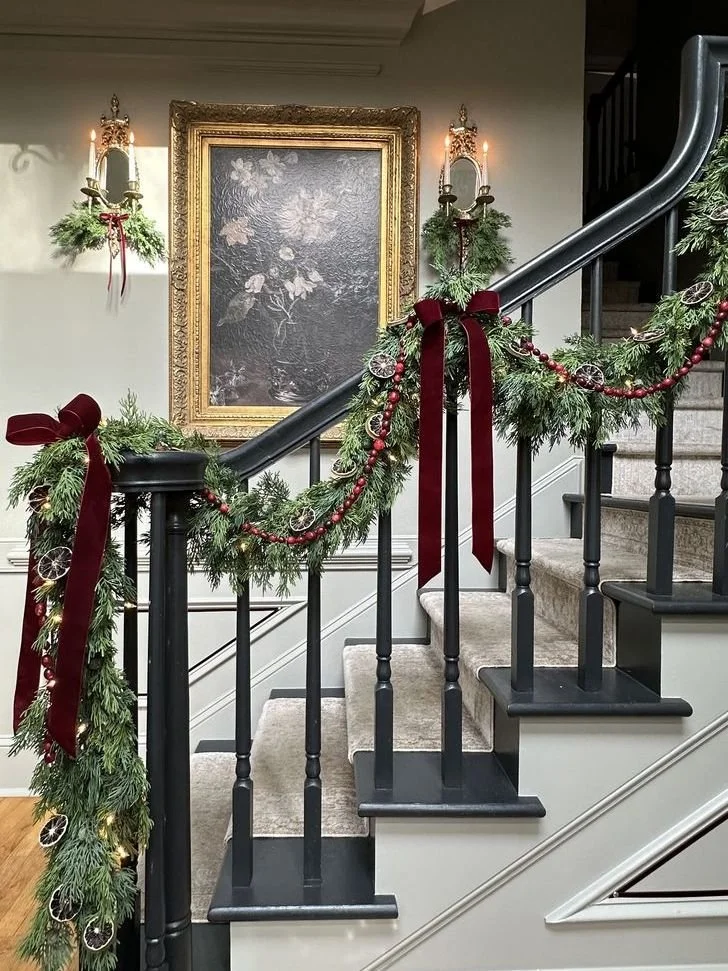
Step 3: Securing Your Garland Safely Without Damaging Woodwork
Attaching heavy greenery to polished wood, painted balusters, or delicate metal railing requires care. Standard metal wire, zip ties, or heavy tape can scratch varnish, chip paint, or leave sticky residue on your staircase.
How do you attach heavy garlands safely?
Padded Floral Wire: Use flexible, green rubber-coated floral wire to wrap around spindles. The soft rubber coating prevents metal from scraping against painted wood or polished varnish.
Velcro Cable Straps: Reusable cloth cable wraps offer a quick, scratch-free way to fasten heavy garland bases tightly against wood railing.
Clear Command Clips for Banisters: For modern glass or metal staircases where you cannot easily wrap wire around a spindle, place heavy-duty clear outdoor adhesive hooks along non-contact areas to hold the central wire of the garland.
Fabric Protection Strips: If you must wrap wire around a delicate, antique hardwood newel post, place a small square of felt or velvet fabric between the wood and the wire loop before pulling it tight.
Always attach your garland at the structural strong points of the staircase: the top newel post, the bottom newel post, and every third or fourth vertical spindle along the run.
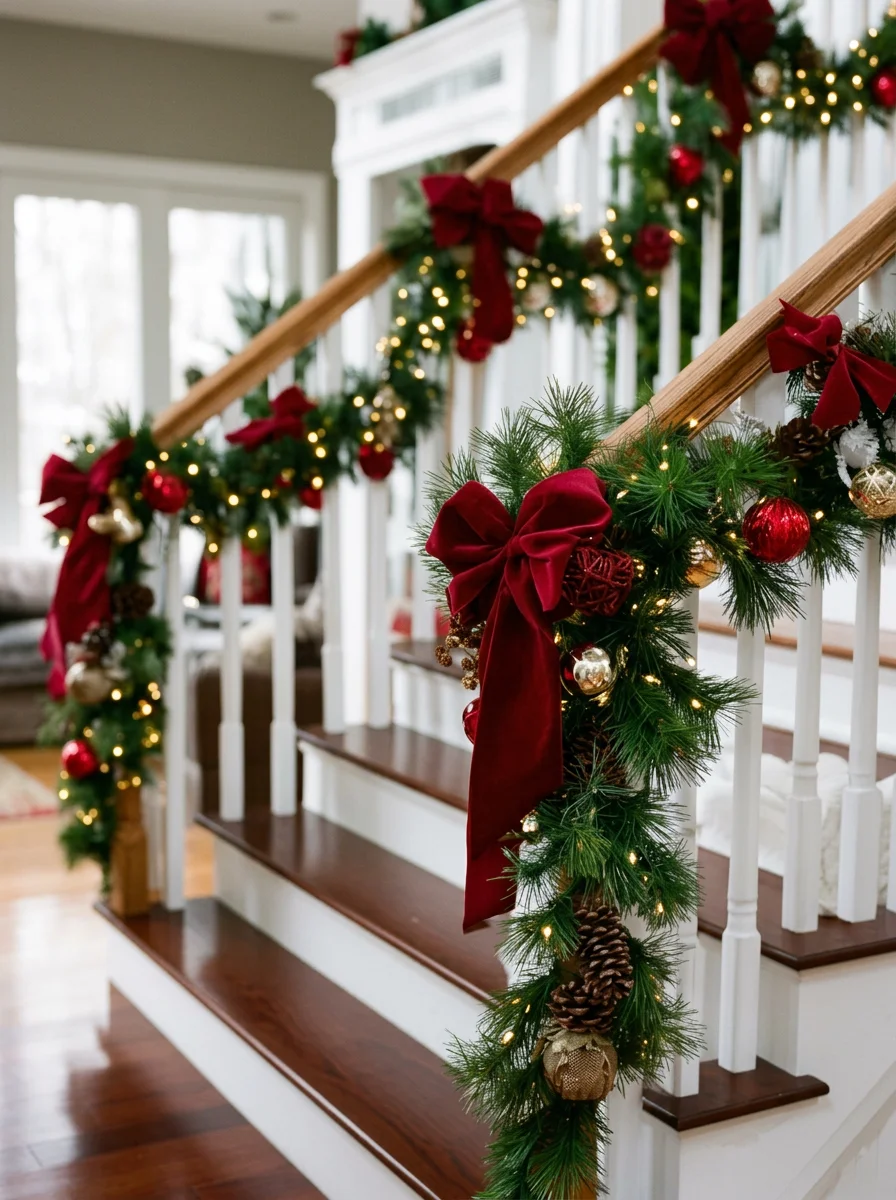
Step 4: Styling with Luxury Velvet Ribbon Ties
With your green framework securely installed and fluffed, you can introduce your primary textile accent: ribbons. Ribbon serves both an aesthetic and a practical purpose. Visually, it introduces soft color, luxurious texture, and fluid vertical lines. Practically, ribbon hides the wire knots, zip ties, and attachment points used to fasten the garland to your banister.
While satin, burlap, and sheer organza ribbons have their place, nothing rivals the cold-weather luxury of wide, double-faced velvet ribbon. Velvet absorbs ambient light, creates deep shadows, and drapes with an elegant, heavy weight that elevates the entire staircase.
How do you select and tie ribbon for a professional look?
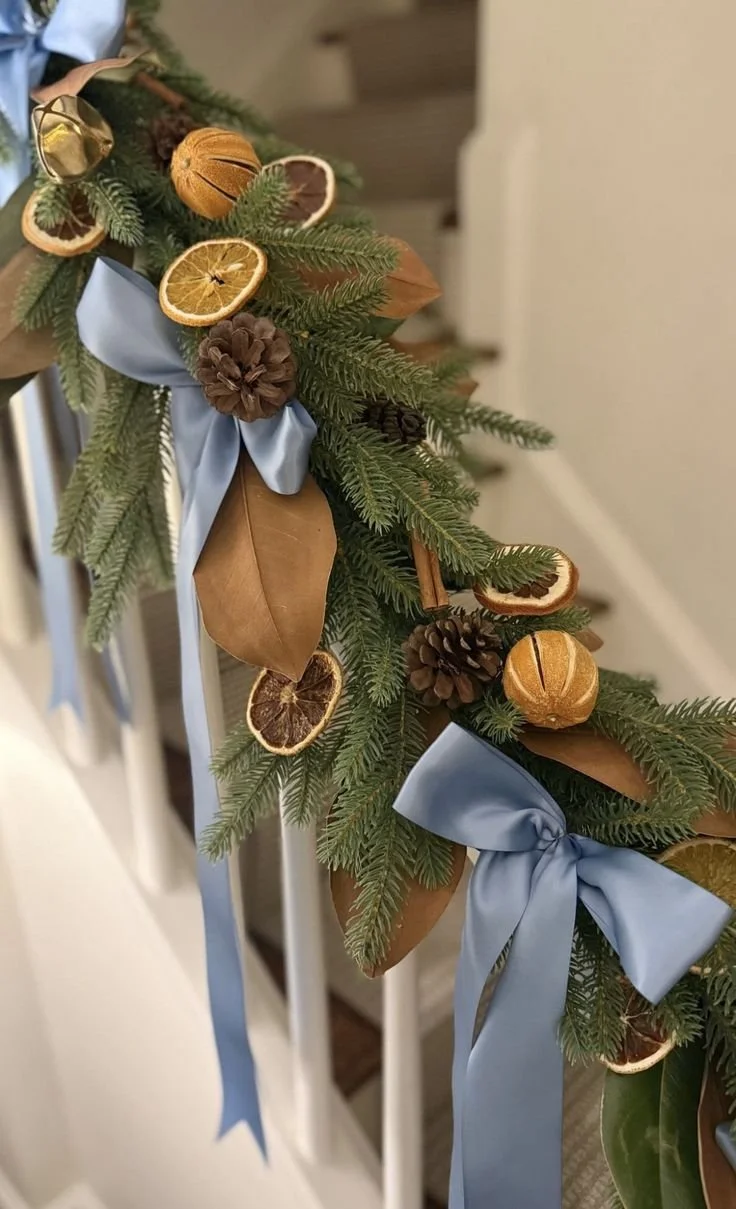
Ribbon Width and Palette Selection
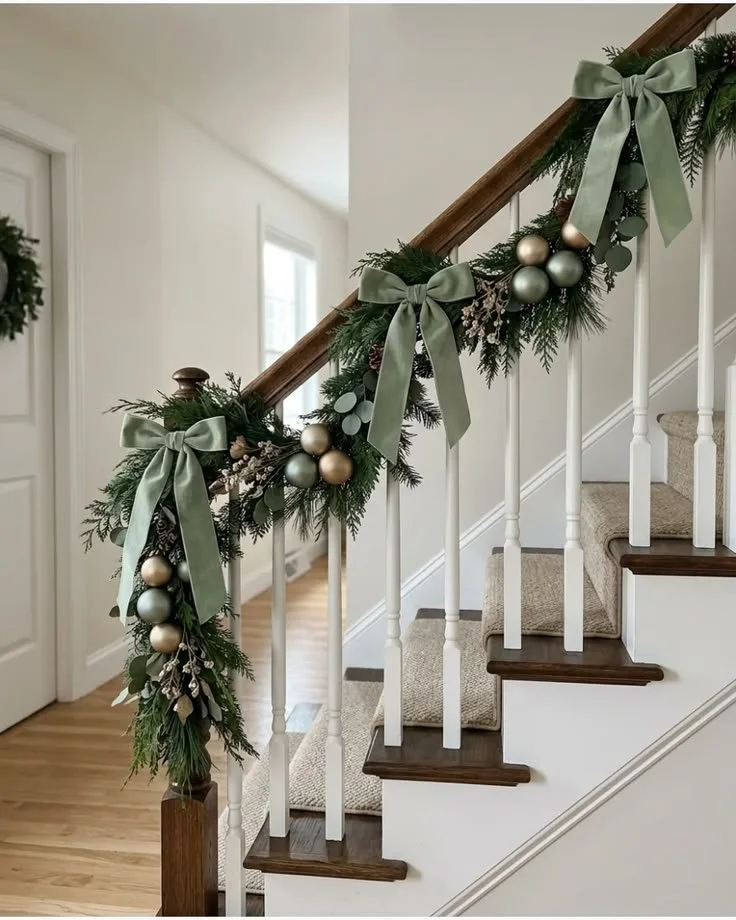
Choose a wide ribbon measuring between two and a half to four inches in width. Narrow ribbons get swallowed up by thick evergreen garlands, whereas wide ribbons make a bold, tailored statement.
Choose deep, nature-inspired colors that tie into your home's year-round color story:
Forest Green and Moss: Creates a subtle, monochromatic look that blends seamlessly into pine foliage for a quiet luxury aesthetic.
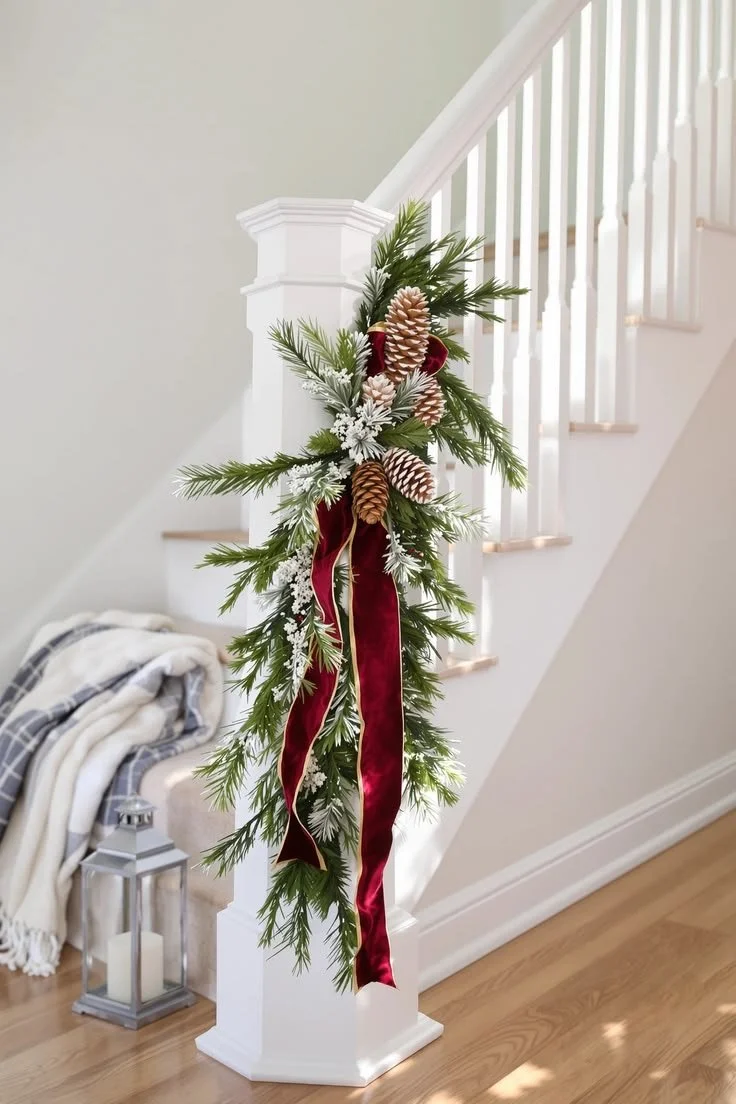
Burgundy, Merlot, and Deep Plum: Offers a classic, regal contrast against green branches, perfect for traditional homes.
Warm Espresso and Taupe: Ideal for modern minimalist interiors, adding soft neutral tones alongside raw wood and brass.
Antiqued Gold and Ochre: Captures room light beautifully, adding a vintage glow that feels festive without relying on bright primary colors.
Bow Styling and Tail Placement
Say goodbye to stiff, hard-wired commercial bows with multiple stiff loops. Modern banister styling favors simple, fluid knots, traditional shoestring bows, or dramatically long trailing tails.
When securing your ribbon at attachment points along the banister, leave the tails extra long. Allow the velvet ribbon to drape six to twelve inches below the bottom of the garland, brushing against the spindles or cascading down the stairs. Cut the ends of your ribbon at a sharp forty-five-degree angle or a neat French chevron cut to prevent fraying and give your installation a crisp, polished finish.
Step 5: Adding the Final Touch—Vintage Brass Bells
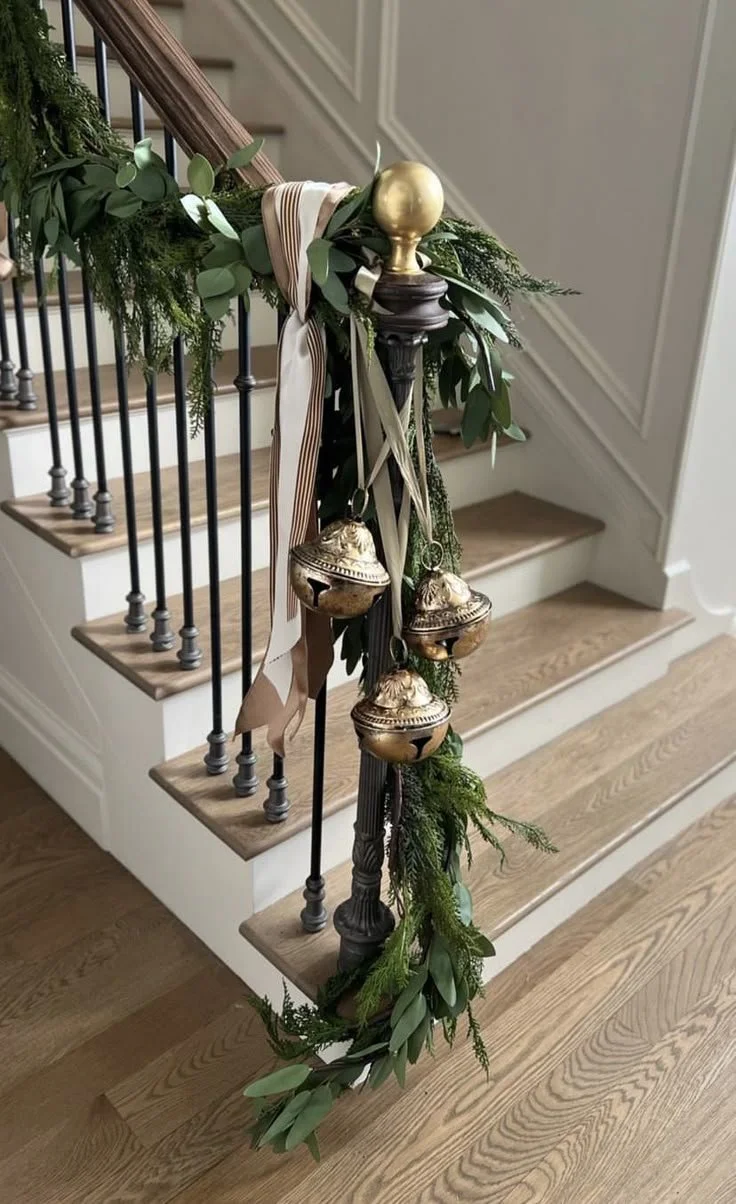
The final layer that completes your staircase banister transformation is the addition of metallic accents. While glass ornaments and fairy lights are popular options, nothing captures the timeless nostalgia of the winter holidays quite like cluster-hung brass bells.
Brass bells introduce a warm, golden gleam that catches light from nearby entryway lamps. When brushed against as family members walk up and down the stairs, they emit a quiet, cheerful chime that fills the home with festive ambience.
How do you style brass bells on a banister?
Choosing the Right Bell Style
Avoid shiny, chrome-plated, or lightweight tin bells that look cheap under bright light. Instead, search for antiqued brass, hand-hammered iron bells with a gold patina, or rustic cowbells with weathered leather straps. The imperfect, textured surfaces of hand-hammered bells reflect light softly, creating an old-world charm that feels authentic and historical.
Grouping and Asymmetrical Hanging
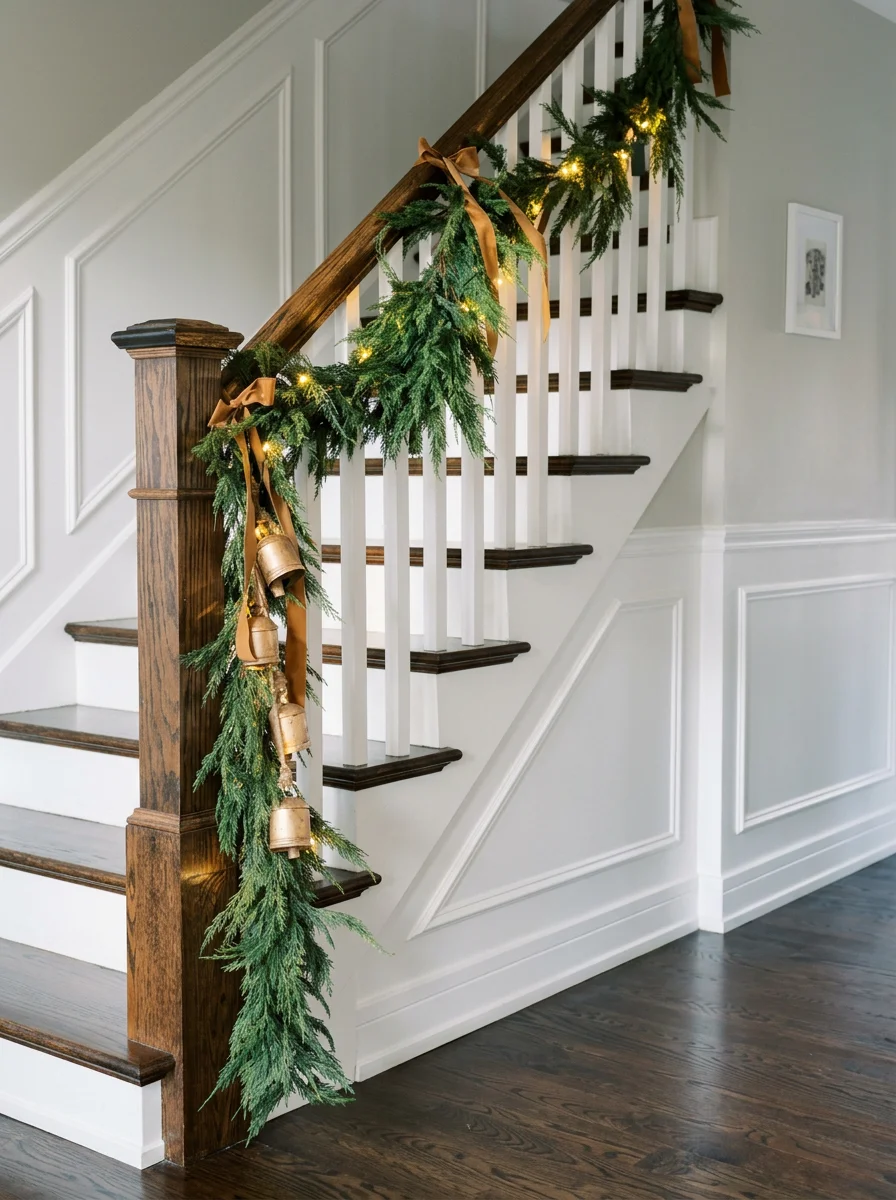
Hanging individual bells at equal intervals along a banister can feel rigid and monotonous. Instead, group your bells in asymmetrical clusters of three or five.
Vary the string or ribbon lengths within each cluster so the bells nestle at different heights. Tie a cluster of three heavy brass bells to the main newel post at the base of the stairs, letting them hang directly beneath a large velvet bow. Then, place smaller two-bell clusters at the high point of each garland swoop along the handrail.
To integrate the bells smoothly into your greenery, tuck a few sprigs of real incense cedar or dried pinecones directly behind the rope hanging loop. This makes the bells appear as though they are emerging naturally from within the dense green foliage.
Step-by-Step Execution Checklist
To make your banister styling process easy and stress-free, follow this orderly sequence:
Clean and inspect the staircase. Dust the banister, wipe down the spindles, and repair any loose hardware before hanging heavy decor.
Measure and cut your base materials. Lay out your artificial base garland, fluff the PE branches, and cut your attachment wires or velcro straps to size.
Mount the artificial garland foundation. Secure the garland tightly to your main newel posts and along the chosen spindles, ensuring it hangs firmly without slipping.
Weave in fresh greenery sprigs. Insert fresh blue spruce, cedar, and eucalyptus clippings into the wired faux base, focusing on filling gaps and creating a full, soft texture.
Add velvet ribbons and brass bells over the attachment points. Tie long, trailing velvet bows over every wire junction, then attach clusters of rustic brass bells beneath the bows to complete the look.

Long-Tail Maintenance for Freshness All Season Long
If you choose to incorporate live greenery sprigs into your banister display, a little simple upkeep will keep your staircase looking fresh from late fall straight through the new year:
Misting Greenery: Fill a spray bottle with cold water and lightly mist the fresh sprigs every three to four days. Focus the mist on the cut stem ends tucked inside the garland. Mist early in the morning so moisture evaporates before guests use the stairs.
Anti-Desiccant Spray: Before weaving your fresh clippings into the faux garland, spray them with an anti-desiccant spray available at local plant nurseries. This coats the foliage in a thin, clear protective barrier that seals in moisture and drastically reduces needle drop.
Heat Management: If your staircase sits directly above or next to a main heating vent, adjust the vent directional louvers away from the banister. Direct dry heat accelerates needle drying and causes real sprigs to brown prematurely.
Frequently Asked Questions
How do I keep my staircase banister safe to use while decorated with garland?
To maintain handrail functionality, attach your garland along the outer side or directly beneath the handrail on the upper spindle area. This leaves the inner top curve of the wooden handrail clear so family members and guests can comfortably grip the rail while walking up and down the stairs.
Can I add lights to a banister garland without visible cords?
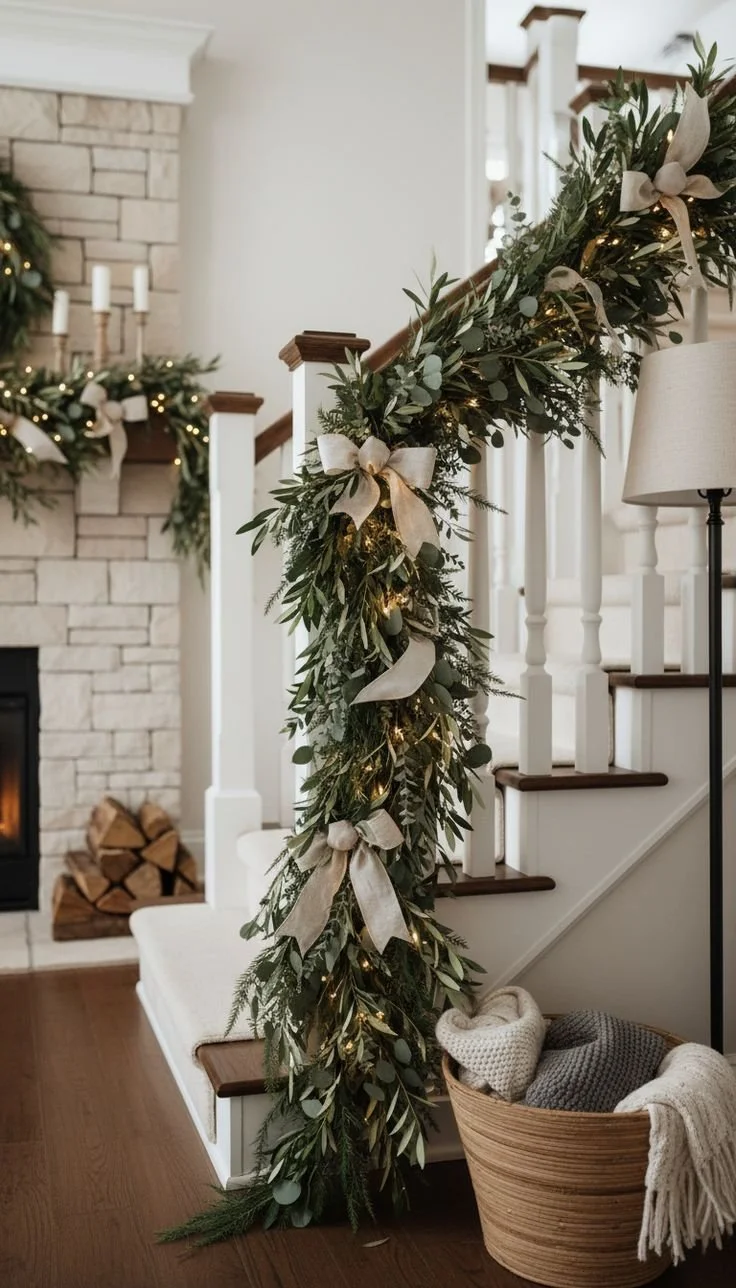
Yes! Use battery-operated LED micro-fairy lights on copper or green wire. Weave the light strands through the center of your artificial garland base before adding your real greenery sprigs. Conceal the small battery boxes deep inside the dense foliage at the base of the newel post or behind a velvet bow.
How far in advance can I style a banister with real greenery?
A hybrid garland (faux base with real sprigs) can be styled three to four weeks before Christmas if misted regularly. If you are using 100% live garland without an artificial base, wait until two weeks before the holiday to ensure it remains lush and green for your main celebrations.
The Lasting Impact of a Festive Entrance
Styling a staircase banister is more than just a seasonal chore. It is an investment in the mood, warmth, and hospitality of your entire home. By combining the structure of artificial greenery, the scent of fresh cut foliage, the tactile softness of velvet ribbons, and the golden chime of vintage brass bells, you create an unforgettable winter entrance that brings delight every single day.
As family and friends gather in your home this holiday season, your decorated staircase will stand as a warm, radiant centerpiece—a testament to thoughtful design and the cozy magic of home.
Which combination of ribbons, bells, and greenery will you be weaving onto your banister this season?
You May Also Like: