
The Hostess Edit: How to Assemble a High-End Charcuterie Board
The Rosie Home Edit contains affiliate links. If you make a purchase through these links, we may receive a commission. Thank you for supporting the work we do to curate this space.
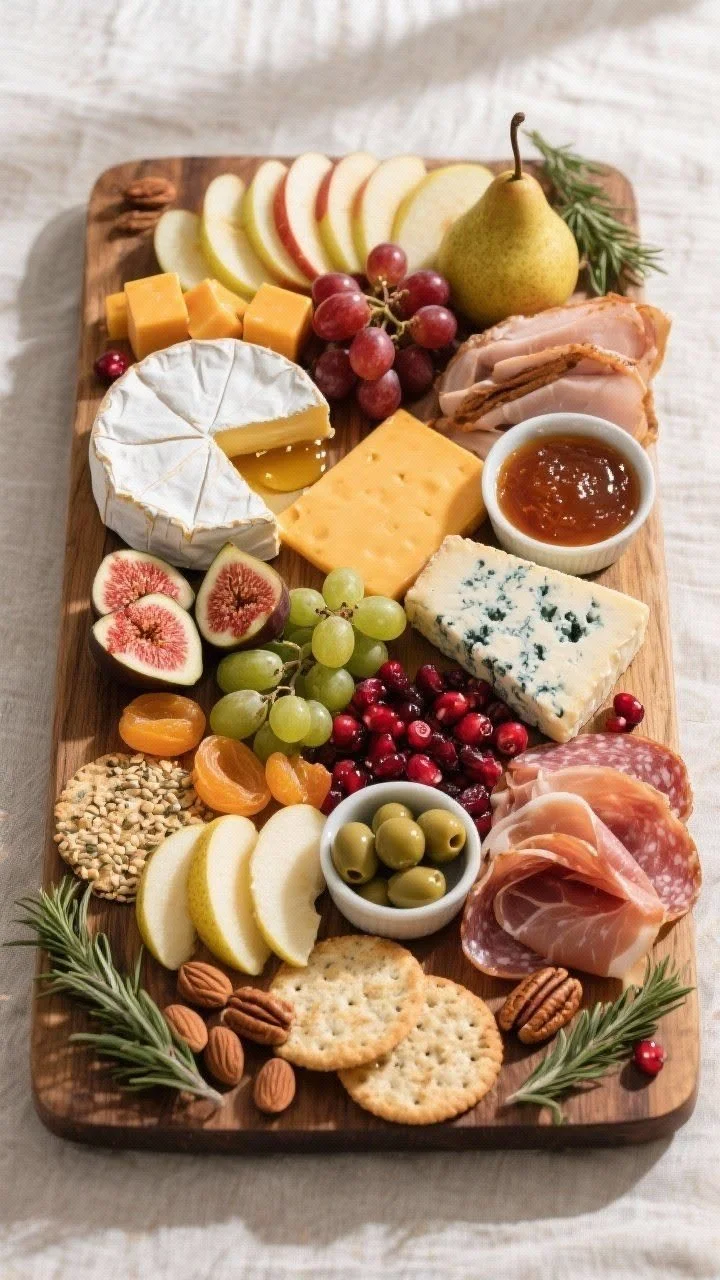
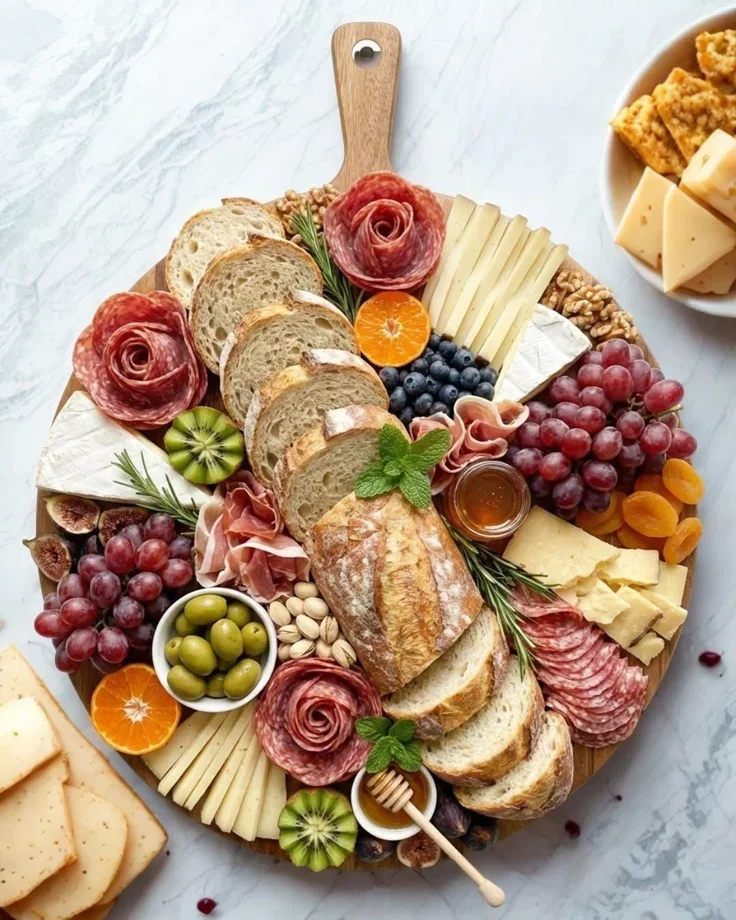
We have all experienced that specific moment of awe while scrolling through Pinterest or Instagram: you come across a gorgeous, gourmet charcuterie board that looks less like a casual appetizer and more like a masterful piece of editorial art. The cheeses are perfectly styled, the meats are folded with mathematical precision, the colors are vibrant, and the entire board looks lush, abundant, and completely inviting.
Yet, when you try to recreate that exact look at home for a gathering, it is incredibly easy for the final product to fall flat. The ingredients slide around, the layout looks sparse or chaotic, the colors blend into a beige puddle, and it ends up looking like a basic grocery store party tray.
Beautiful hosting should never feel frustrating or overly complicated. The secret to assembling a high-end, Pinterest-worthy charcuterie board isn't actually about cooking talent, expensive culinary training, or spending an exorbitant amount of money at a specialty boutique. Instead, it is about understanding a few fundamental visual design rules.
By treating your ingredients as design elements, focusing on structure, layering, height, and color contrast you can effortlessly elevate simple, everyday ingredients into an aesthetic, unforgettable culinary experience.
Choosing the Right Foundation
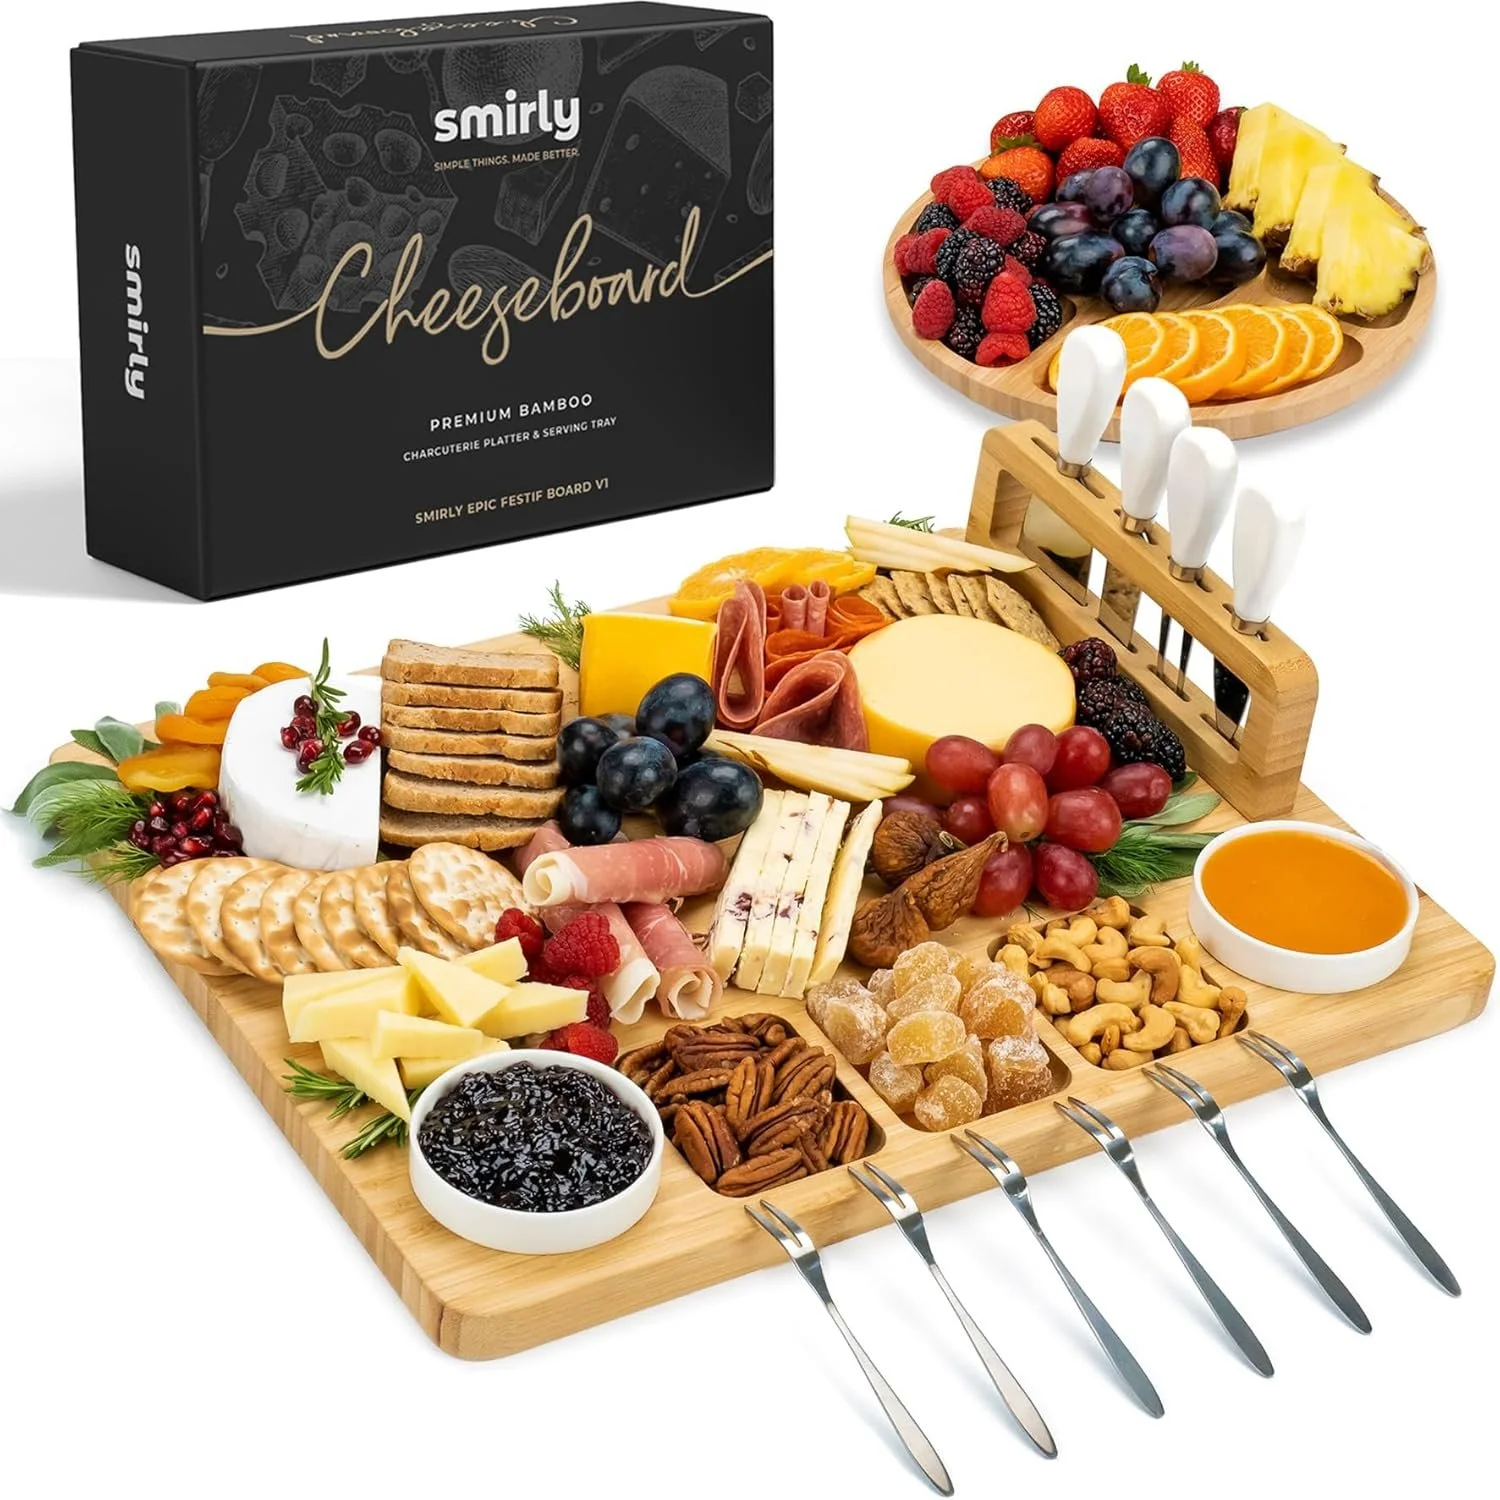
Before you even step foot in the grocery store, you need to select the right foundation for your display. The board you choose acts as the canvas for your edible artwork, and it plays a massive role in setting the stylistic tone of your presentation.
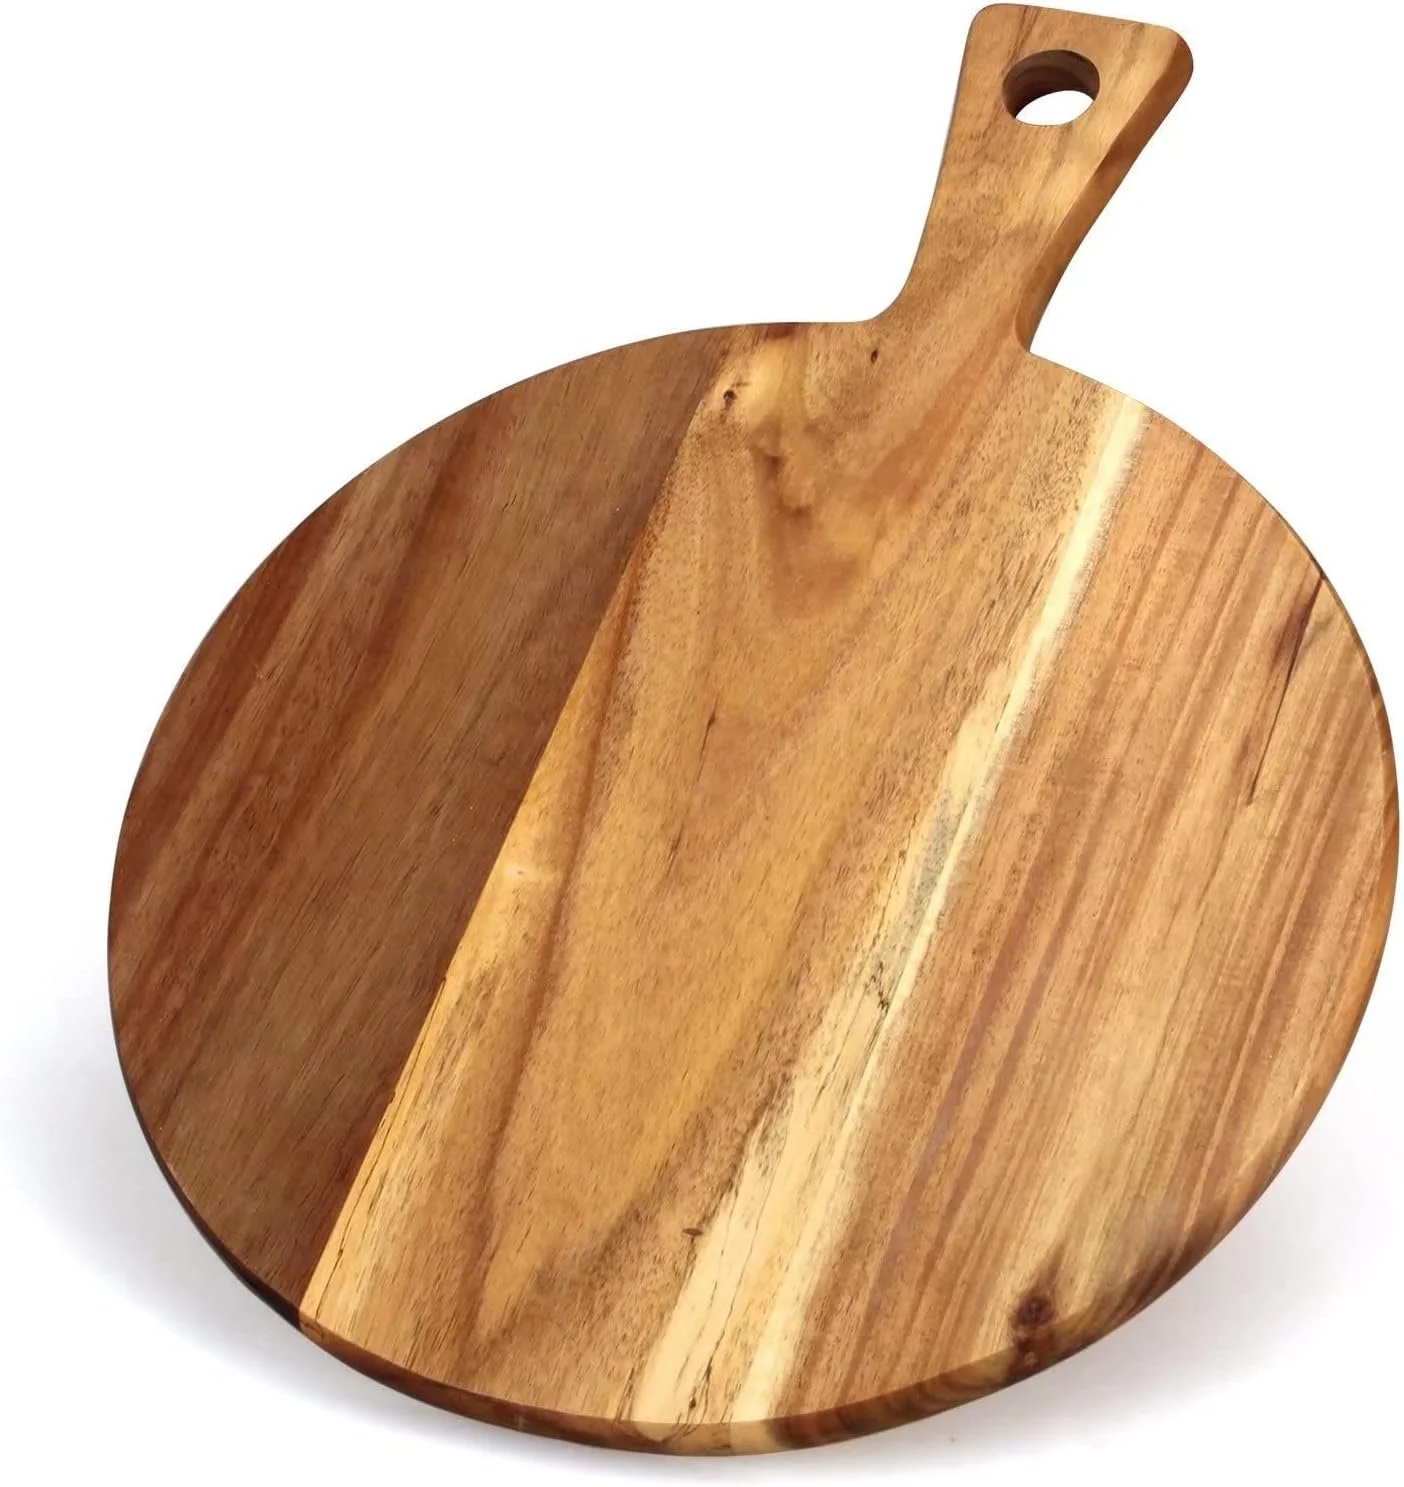
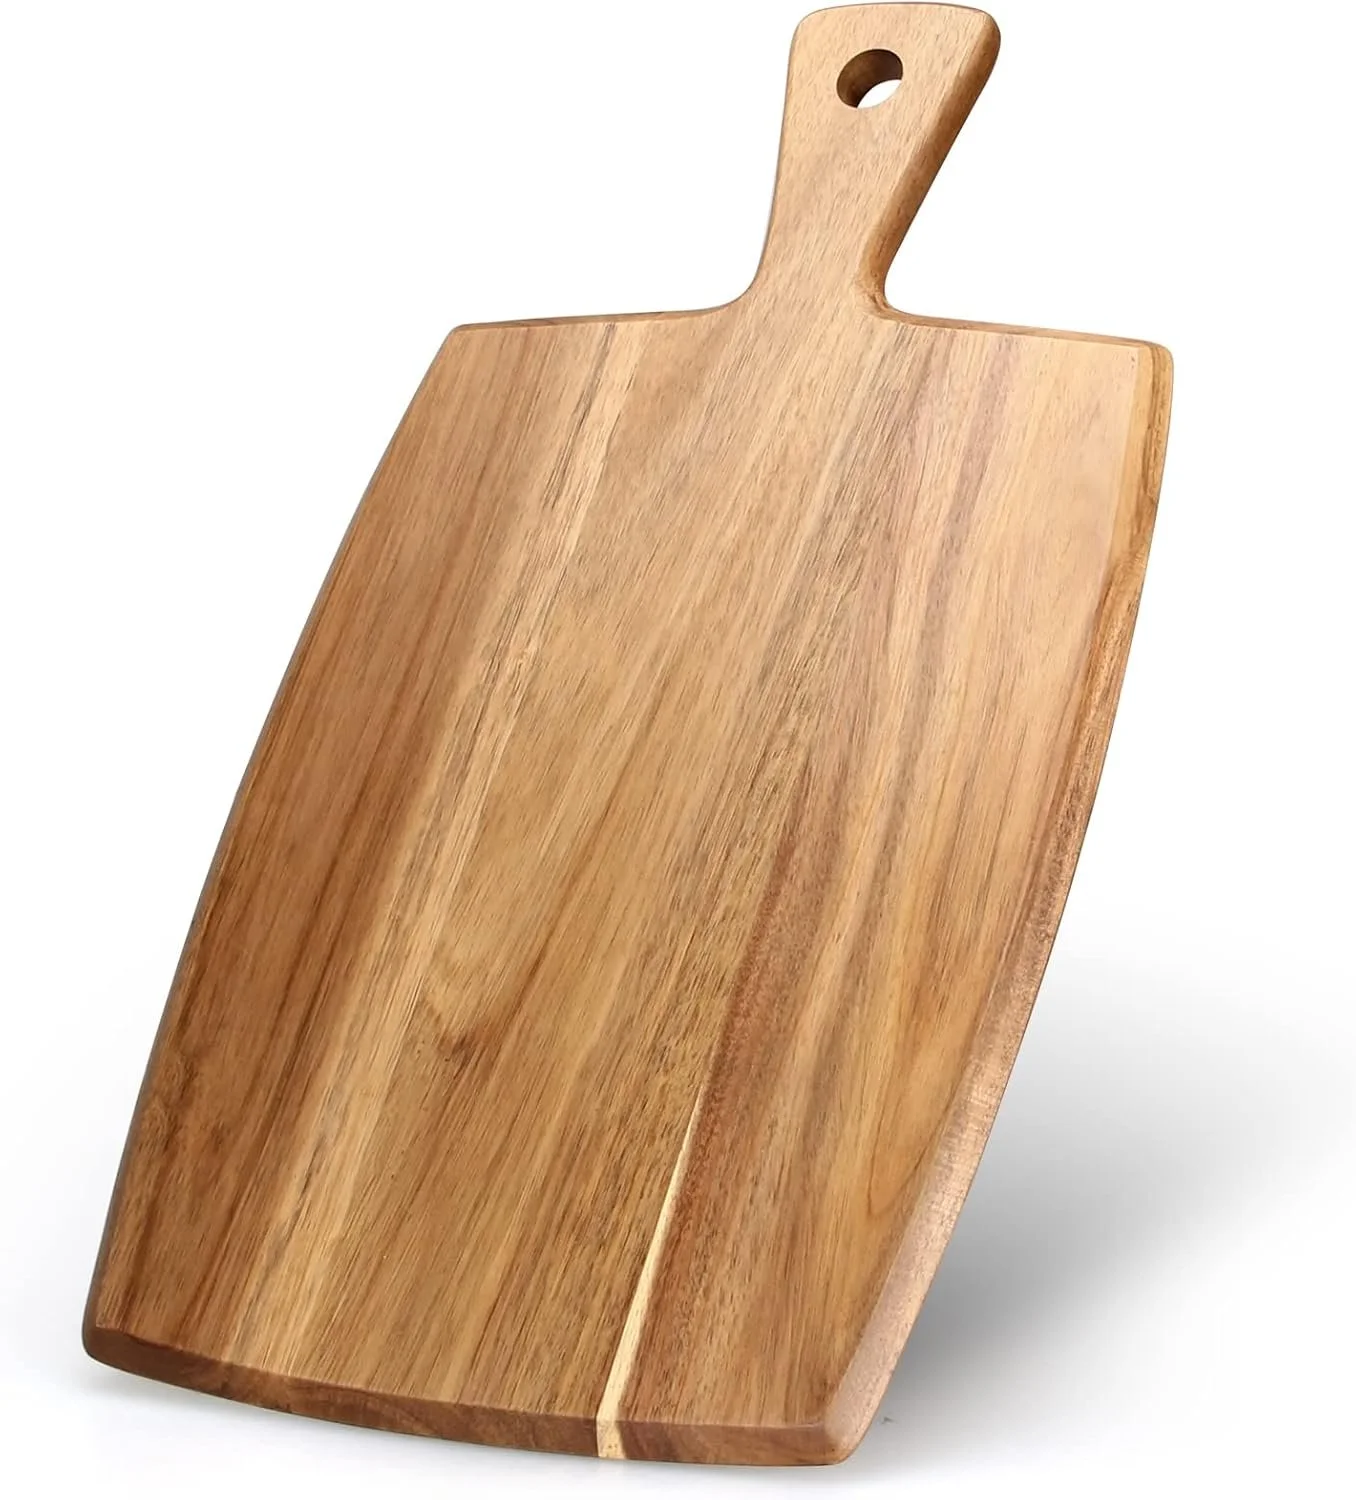
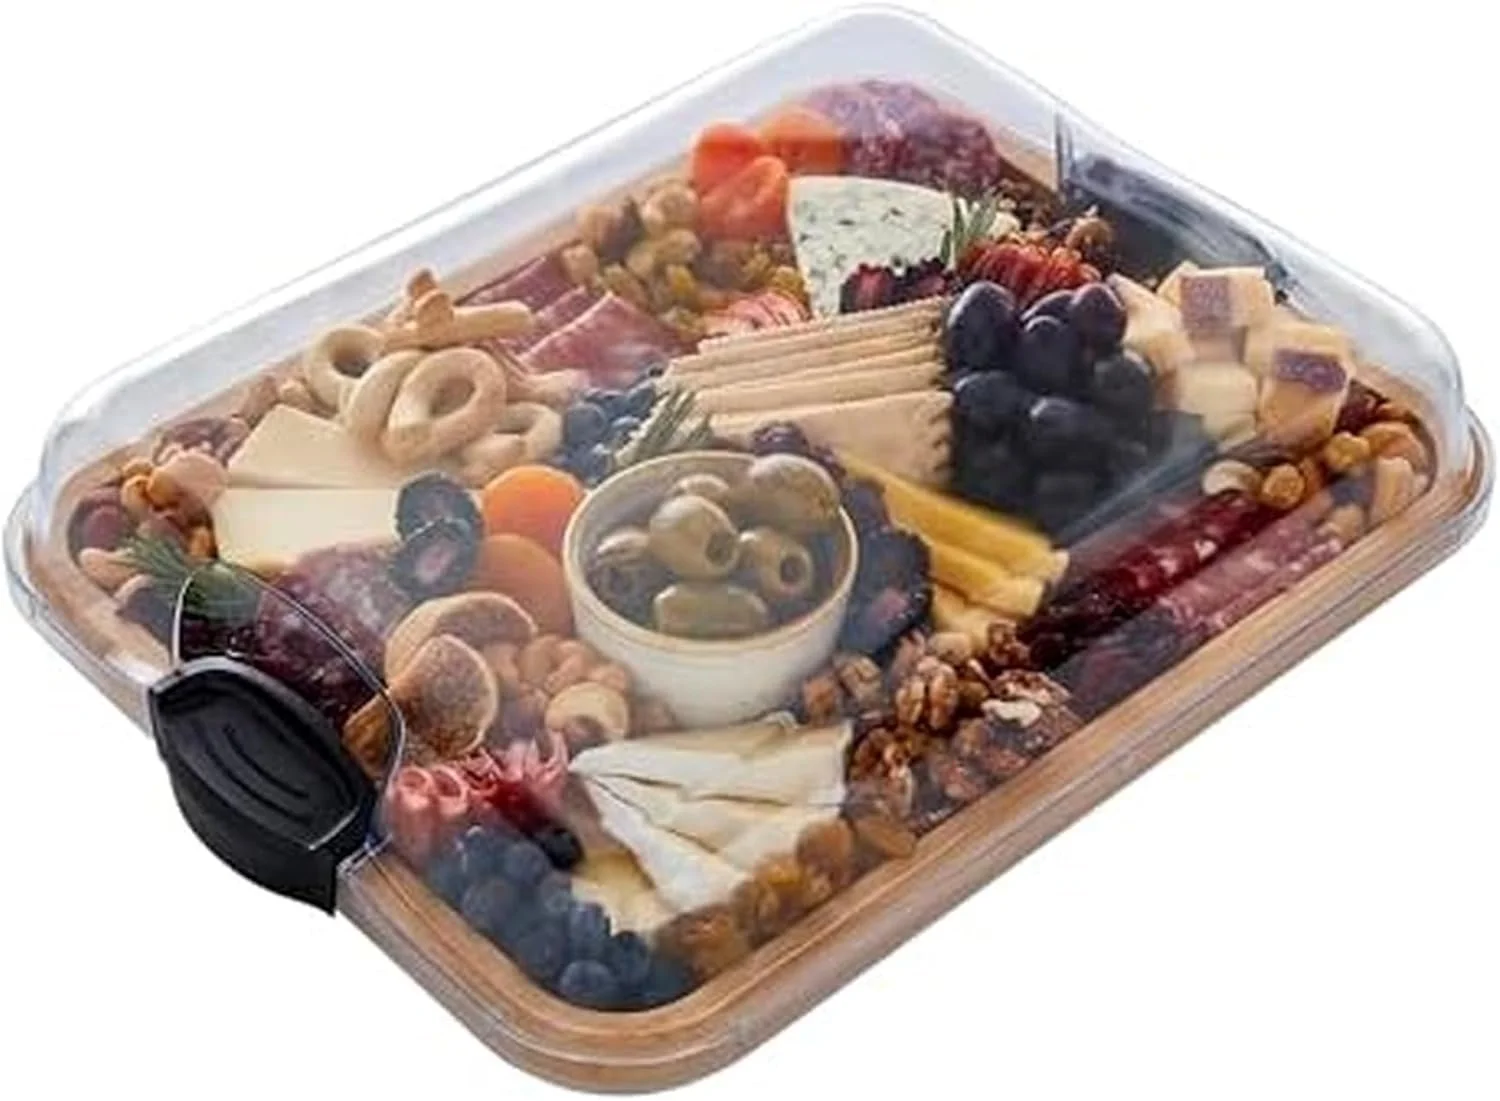
For an organic modern aesthetic, step away from plastic platters or perfectly uniform, highly polished serving trays. Instead, embrace the rustic charm of raw, natural materials. A large, thick-cut wooden board with an exposed live edge or a beautiful grain path adds an instant layer of soul and rich warmth to your counter.
If you want a more contemporary, sleek look, an oversized slab of honed white marble, dark slate, or polished soapstone can create a stunning, high-contrast backdrop for your food.
Charcuterie Assembly Roadmap:
1. Place Anchor Bowls (Olives, Jams, Honey)
   └── 2. Arrange Structure Cheeses (Hard, Semi-Soft, Spreadable)
          └── 3. Layer Meats with Texture (Ribbons, Piles, Folds)
                 └── 4. Fill Gaps with Color (Fruits, Nuts, Crackers, Greens)
Size matters here. One of the biggest mistakes home hosts make is choosing a board that is far too large for the amount of food they bought. A high-end charcuterie board must look abundant and overflowing; empty patches of wood or marble immediately break the illusion of luxury.
If you are hosting a smaller group, pick a smaller, beautifully proportioned board that you can pack densely, rather than a massive platter that leaves glaring gaps.
Rule 1: Establish Your Anchor Points
The golden rule of professional food styling is to never start throwing loose crackers or slices of meat onto an empty board without a structural plan. If you do, the ingredients will move when the board is carried, and the entire layout will lose its shape. You must establish your anchor points first.
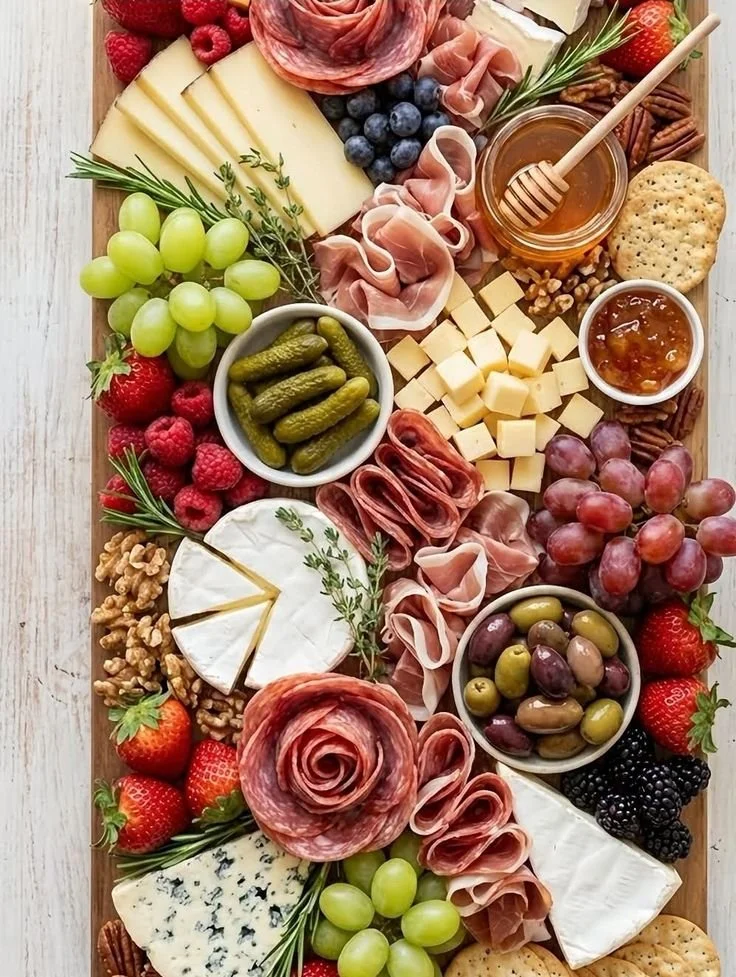
Your anchors are your non-movable elements: small ceramic, stoneware, or marble pinch bowls. Take two or three small vessels that match your home's aesthetic and place them onto the board in an asymmetrical, triangular pattern. These bowls are absolutely essential because they hold your wet, loose, or rolling ingredients that would otherwise ruin the texture of your crackers or create a mess on your board.
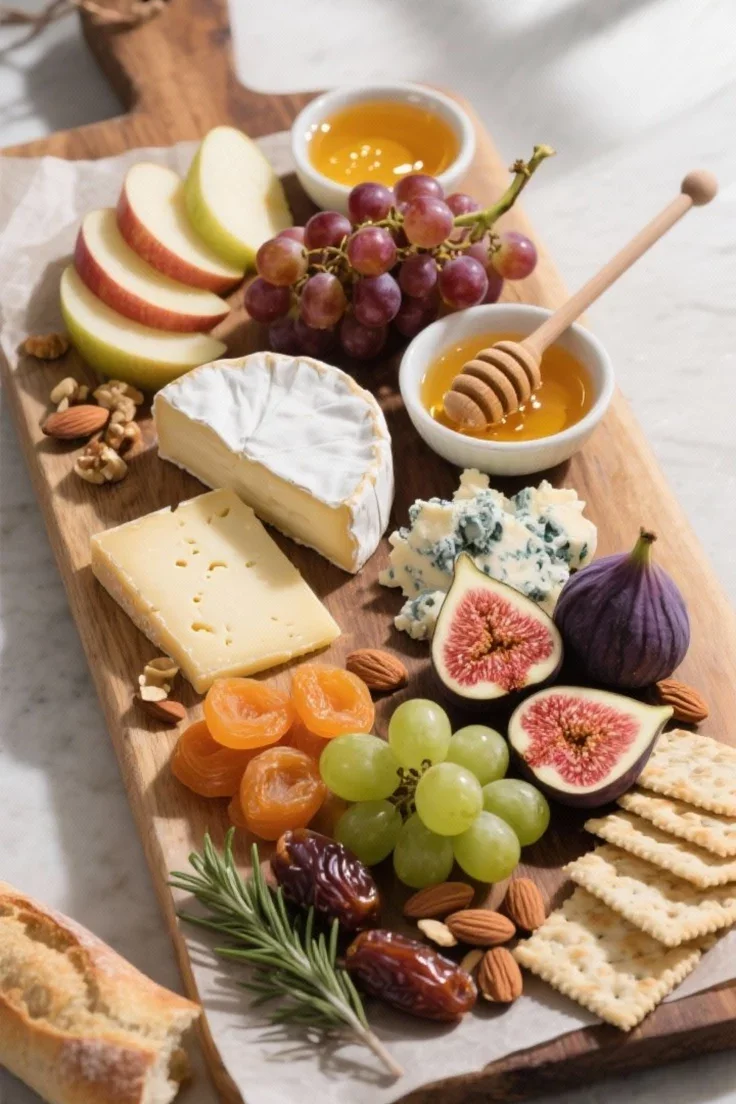
Fill these anchor bowls with premium accompaniments that add distinct flavor profiles. One bowl can hold briny, non-toxic cornichons or pitted castelvetrano olives. Another can be filled with a rich, dark fig spread or a grainy artisan mustard.
In the final bowl, pour a high-quality local raw honey, complete with a small wooden honey dipper resting over the edge. These bowls immediately give your eyes a place to land, providing a solid structural skeleton around which the rest of your ingredients will flow.
Rule 2: The Three Textures of Cheese
With your anchor bowls securely in place, it is time to introduce the star of the show: the cheese. To create a high-end board that satisfies both the eye and the palate, you need to curate a selection that represents three distinct textures: hard, semi-soft, and soft/spreadable. This variety ensures that your board feels dynamic and thoughtfully curated.
The Hard Cheese: An aged Manchego, a sharp white cheddar, or a block of Parmigiano-Reggiano works beautifully. Instead of cutting these into uniform cubes (which looks dated), use a cheese knife to crumble them into natural, jagged, artisanal chunks.
The Semi-Soft Cheese: A classic wedge of Gouda, a creamy Fontina, or a log of herbed goat cheese. Cut these into clean, elegant triangular slices and fan them out across the board in a gentle, sweeping curve that hugs one of your anchor bowls.
The Soft Cheese: A round wheel of double or triple-cream Brie is an absolute non-negotiable. Keep the wheel whole to preserve its beautiful shape. To make it look incredibly high-end, score the top rind in a crosshatch pattern, drizzle it with a bit of warm honey, and scatter a few crushed walnuts or edible flowers over the top.
Space these cheeses out in separate zones across the board, making sure they don't touch one another initially. This keeps the flavor profiles clean and creates distinct stations for your guests to explore.
Rule 3: Creating Height and Texture with Meats
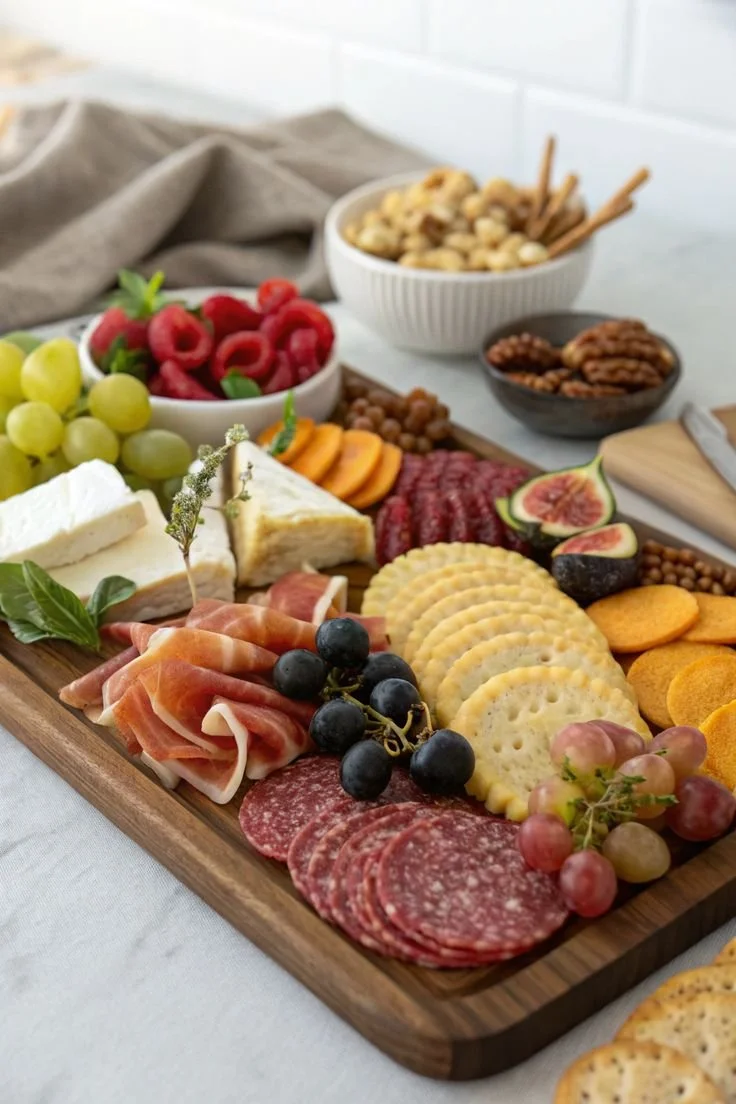
The way meat is handled is usually what separates an amateur charcuterie board from a professional styling masterpiece. Most people simply peel slices of deli meat apart and lay them completely flat in overlapping rows. This creates a flat, uninspiring, two-dimensional layout that looks unappetizing. To make it look high-end, you must manipulate the meat to create vertical height, volume, and texture.
For hard cured meats like salami or pepperoni, use the "ribbon" technique. Take a slice, fold it in half, fold it in half again to form a little triangle, and nestle them tightly against one another in a long, winding river that snakes across the center of your board. Because they are packed tightly together, they will hold their shape and stay upright, creating a gorgeous accordion effect.
For delicate, paper-thin meats like prosciutto, treat them like fine fabric. Gently pull a slice apart, let it loosely ruffle and bunch up in your hand, and place it down on the board in a light, voluminous pile. This casual, airy presentation makes the prosciutto look incredibly luxurious, easy to grab with a toothpick, and appetizing to guests.
Curating a Mindful Entertaining Strategy

Serving an artisanal grazing board is the ultimate low-stress way to entertain, allowing you to prep everything well in advance so you can spend less time stuck in the kitchen and more time enjoying your friends. This effortless approach to modern hospitality is all about maximizing style while minimizing stress.
If you deeply connect with this intentional, slow-living philosophy of entertaining, you will also find immense inspiration in our step-by-step tutorial on How to Set a Minimalist Tablescape for a Casual Dinner Party. Pairing a beautifully styled charcuterie board with a simple, texture-rich table setting creates the ultimate relaxed yet elevated gathering that your loved ones will remember for months.
Rule 4: Filling the Gaps with Color Contrast
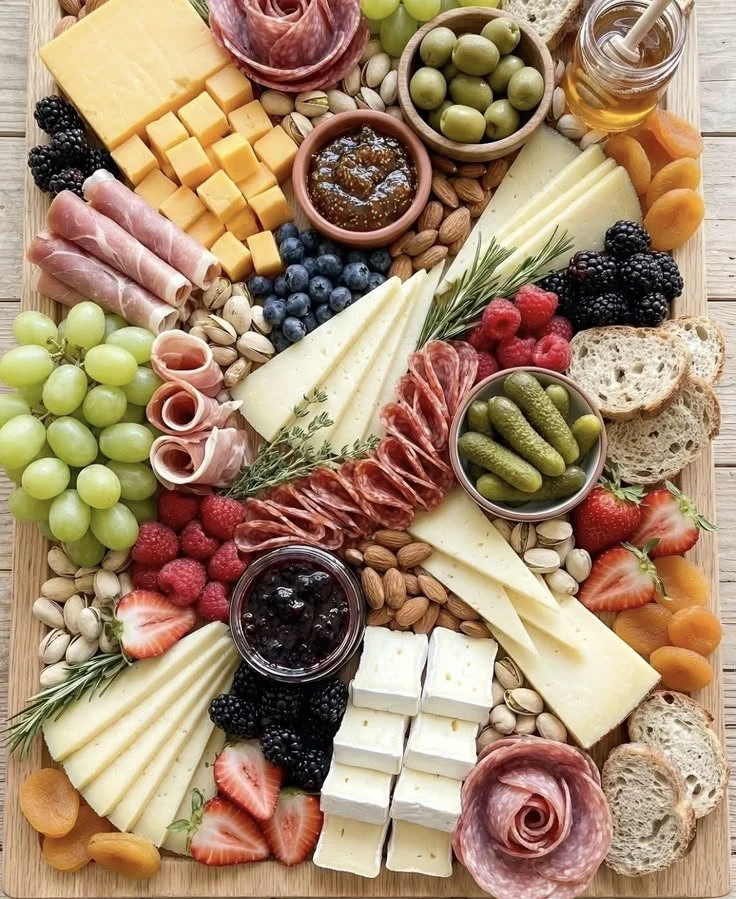
At this stage, your board will have anchor bowls, distinct cheese zones, and textured rivers of meat. However, you will still see open patches of the underlying wood or marble. Your final design step is to fill every single remaining gap with a curated selection of fruits, nuts, crackers, and fresh garnishes.
When choosing your filler ingredients, think intentionally about color contrast. If you have a zone with white brie cheese and pale crackers, nestle a deep purple cluster of organic grapes or a handful of rich red blackberries right next to it to make the colors pop. Use a mix of round artisanal crackers, long sourdough flatbread sticks, and thin slices of fresh baguette, fanning them out in different directions to guide the eye around the board.
Finally, fill the tiniest remaining microscopic holes with premium raw almonds, walnuts, or pistachios. For the ultimate editorial finish, tuck a few fresh sprigs of rosemary, thyme, or olive branches under the edges of the cheese and bowls. This final touch of fresh greenery instantly elevates the board, making it look vibrant, freshly harvested, and completely ready for its close-up.